The Only Pizza Crust Recipe You’ll Ever Need (Authentic Italian Style)
Let’s get one thing straight — pizza is sacred. And the heart of any great pizza? The crust.
If you’ve ever bitten into a slice with a chewy, golden, airy base and thought, “This is what pizza is supposed to taste like,” then you know what I mean. After years of trial and error, tweaking hydration levels, experimenting with flour blends, and channeling every ounce of nonna energy I could muster — I finally landed on the perfect pizza crust recipe.
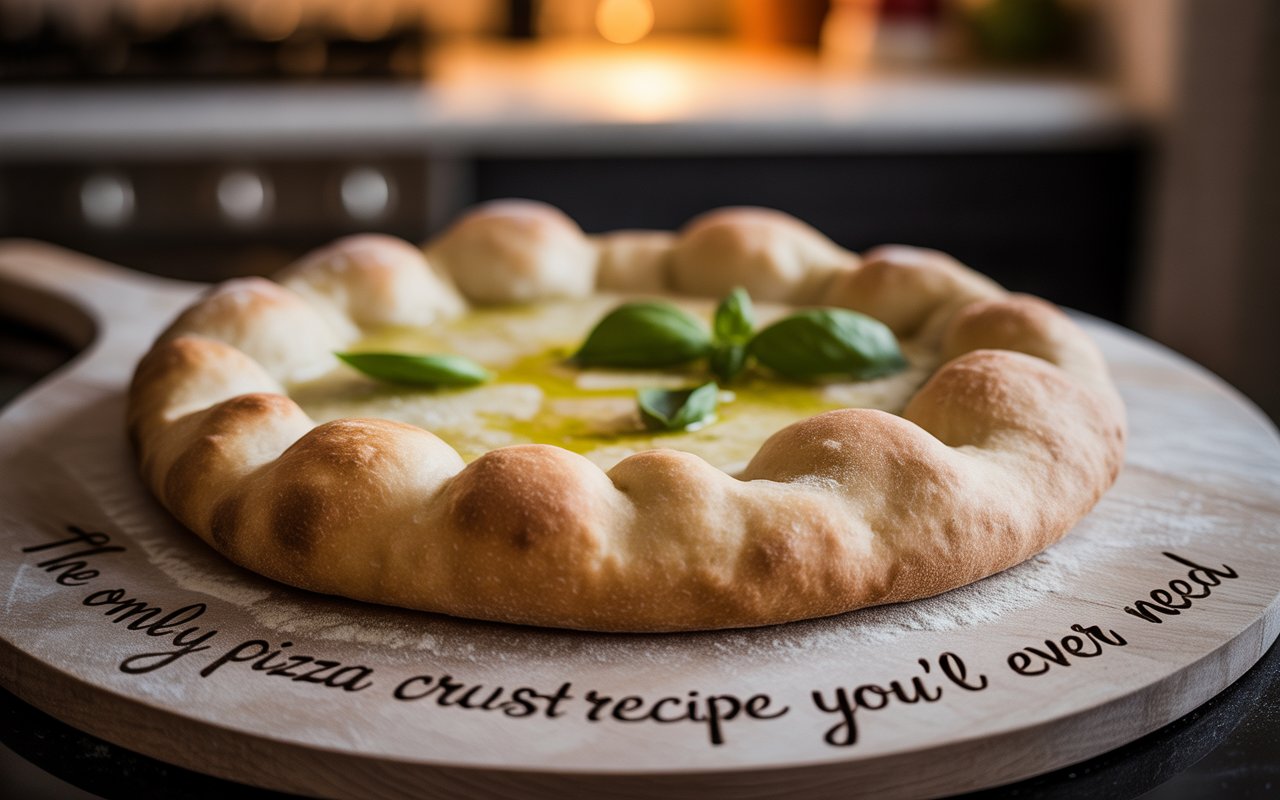
This is the real deal: an authentic Italian pizza dough that gives you that classic crisp-on-the-outside, soft-and-airy-on-the-inside crust. Whether you’re using a pizza stone, a baking steel, or even just a regular sheet pan — this recipe brings you right to a backstreet pizzeria in Naples.
Ready to make the best homemade pizza of your life?
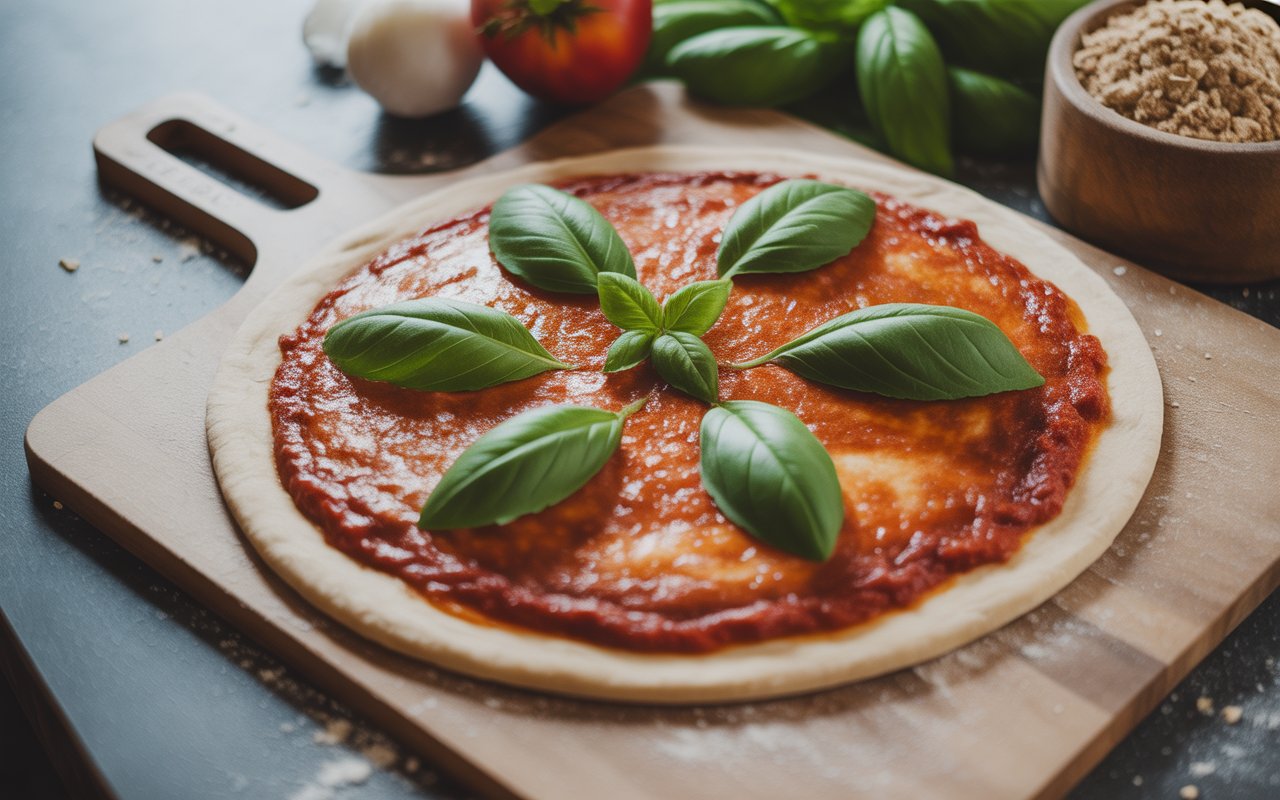
📝 Ingredients for Authentic Italian Pizza Crust
Here’s what you’ll need. These measurements yield two 12-inch pizzas. If you want to double the batch, go for it — this dough freezes beautifully.
| Ingredient | Measurement |
|---|---|
| All-purpose flour (or 00 flour for authenticity) | 3 ¾ cups (500g) |
| Lukewarm water (90–95°F) | 1 ½ cups (360ml) |
| Active dry yeast | 2 tsp (7g) |
| Fine sea salt | 2 tsp (10g) |
| Extra virgin olive oil | 1 tbsp |
| Sugar (optional, helps yeast activate) | ½ tsp |
Note: For a slightly chewier, more traditional Neapolitan crust, use tipo 00 flour if available. It’s silkier and creates a lovely tender bite.
🍕 Step-by-Step Instructions: How to Make Pizza Dough Like an Italian
Step 1: Activate the Yeast
In a small bowl, combine the lukewarm water, sugar, and active dry yeast. Stir gently and let it sit for 5–10 minutes until the surface is frothy. If it doesn’t foam, your yeast may be dead — start over with fresh yeast.
Pro Tip: Water should be warm to the touch, but not hot — think “nice bath” temperature. Anything hotter than 110°F can kill your yeast.
Step 2: Mix the Dough
In a large mixing bowl, combine the flour and salt. Make a well in the center and pour in the activated yeast mixture and olive oil. Mix with a wooden spoon until the dough starts to come together.
Step 3: Knead to Perfection
Transfer the dough onto a lightly floured surface. Knead for 8–10 minutes until smooth, elastic, and slightly tacky. You’re looking for that classic windowpane effect — stretch a piece of dough between your fingers and if it doesn’t tear and lets light through, it’s ready.
Tip: You can use a stand mixer with a dough hook, but I prefer kneading by hand. It connects you to the dough. You’ll feel when it’s just right.
Step 4: Let It Rise (Slow & Low Is Best)
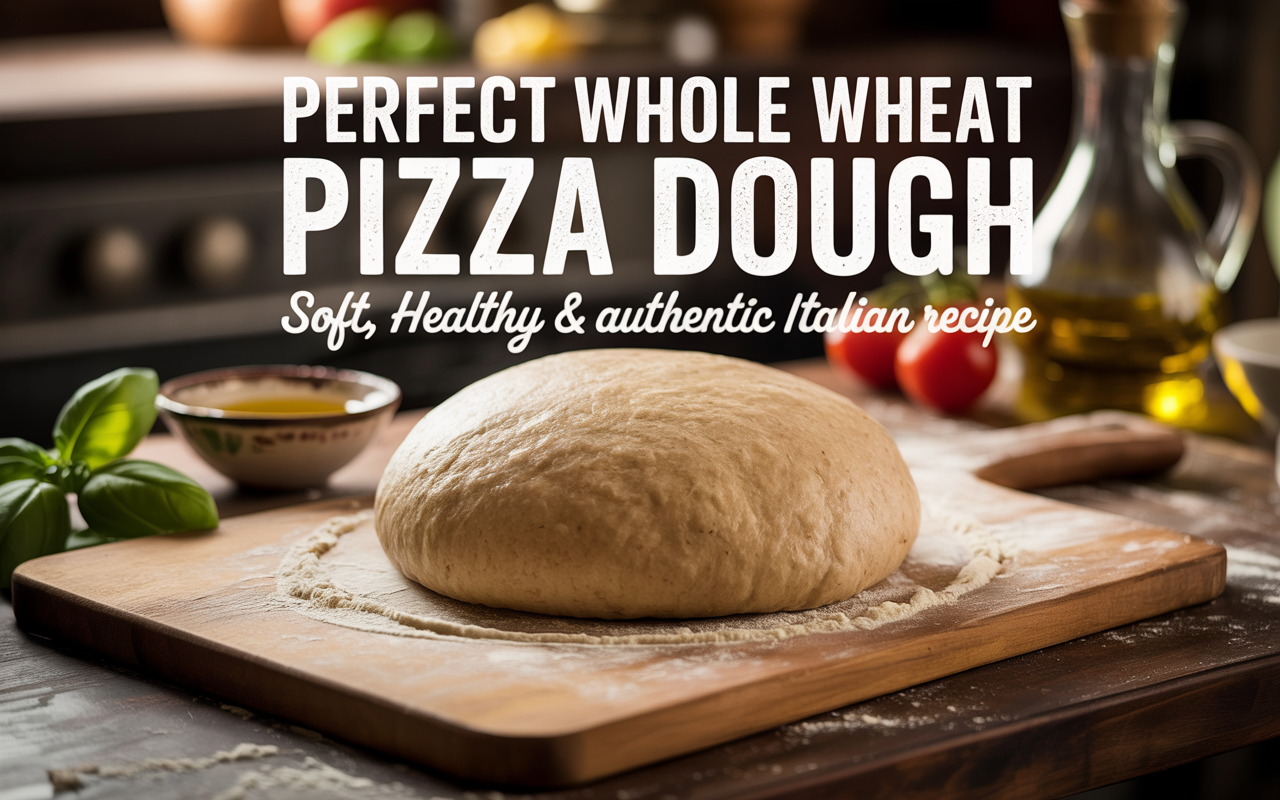
Form the dough into a ball and place it in a lightly oiled bowl. Cover with a clean kitchen towel or plastic wrap and let it rise in a warm spot for 1.5 to 2 hours, or until doubled in size.
For even better flavor? Let the dough cold ferment in the fridge for 24 to 48 hours. This slow rise develops deep, complex flavor — almost tangy, like sourdough.
Step 5: Shape the Pizza Dough
Punch the dough down gently to release the air. Divide it into 2 equal balls and let them rest, covered, for 15–20 minutes. This makes it easier to stretch.
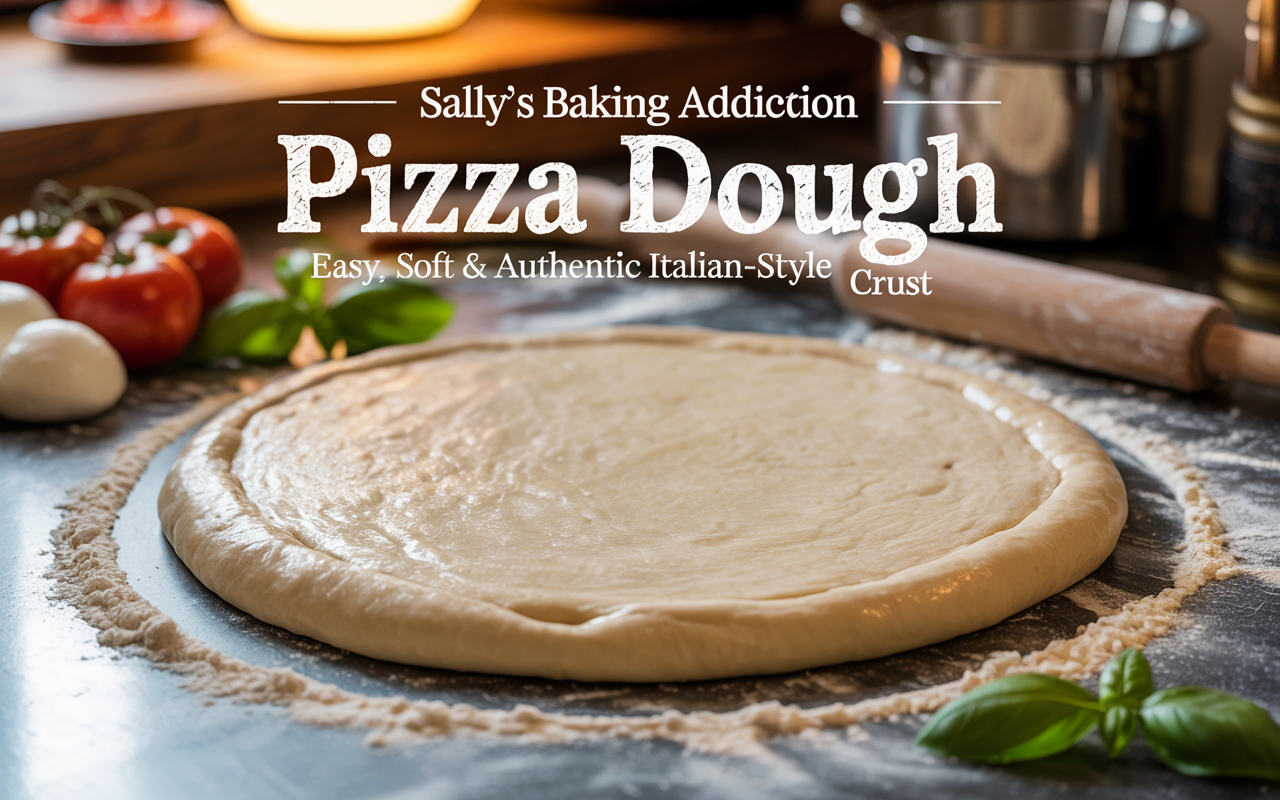
Lightly flour your hands and work surface. Press and stretch one dough ball from the center outward using your fingertips. Don’t use a rolling pin — you’ll crush the lovely air bubbles. Aim for about 12 inches in diameter with a slight crust rim.
Note: If the dough resists stretching, let it rest for 5 more minutes. It’s just a bit tight from gluten development.
Step 6: Top and Bake
Preheat your oven to its highest setting (usually 500–550°F / 260–290°C) and place a pizza stone or steel inside to heat for at least 30 minutes.
Slide the pizza onto a peel or back of a floured baking sheet. Add your sauce, cheese, and toppings.
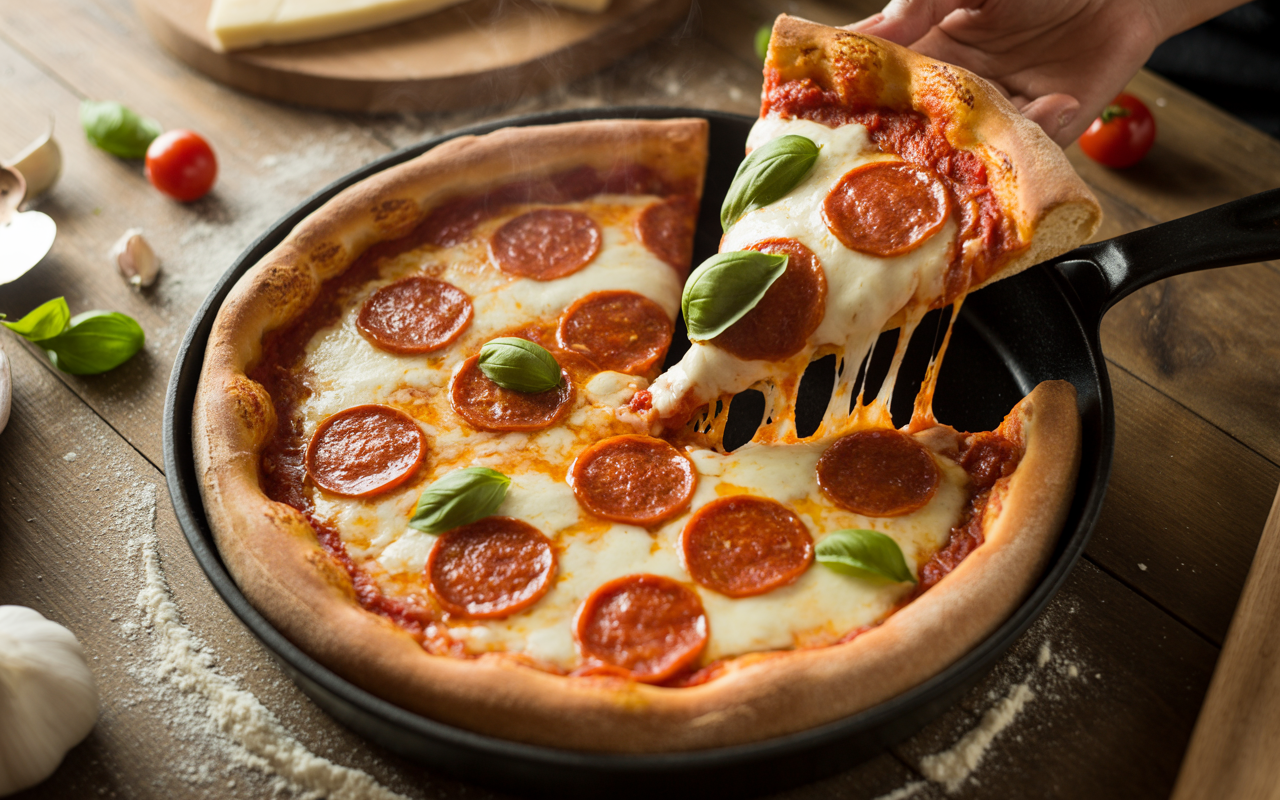
Bake for 7–10 minutes, or until the crust is golden and the cheese is bubbly and slightly charred.
🔥 Pro Tips for the Best Homemade Pizza Crust
- Use high-protein flour (like bread flour or 00) for better gluten structure and chewiness.
- Hydration is key. This dough is around 70% hydration — sticky but worth it. It yields a beautiful open crumb.
- Cold fermentation (24–48 hrs in the fridge) = maximum flavor. Don’t skip it if you have time.
- Don’t overload with toppings — especially wet ones like fresh mozzarella or veggies. Keep it light to avoid soggy crust.
- Invest in a pizza stone or steel. It makes a massive difference in oven spring and crust texture.
- Olive oil adds richness, but don’t go overboard. A tablespoon is plenty for two crusts.
❓ Frequently Asked Questions
Can I freeze this pizza dough?
Absolutely. After the first rise, divide the dough into portions, wrap tightly in plastic, and freeze for up to 3 months. Let it thaw in the fridge overnight and bring it to room temperature before shaping.
What’s the difference between 00 flour and all-purpose flour?
Tipo 00 flour is finely milled and lower in protein than bread flour, but higher than all-purpose. It gives you a soft, chewy, Neapolitan-style pizza crust. All-purpose flour works great too — it’s a bit more rustic.
Why is my dough too sticky?
This is a high-hydration dough, so some stickiness is normal. Lightly flour your hands and work surface, but don’t add too much extra flour or you’ll end up with dense crust.
Can I make this recipe in advance?
Yes! In fact, I recommend it. After kneading, cover and refrigerate the dough for up to 2 days. Let it come to room temp for 1–2 hours before stretching and baking.
How do I get big airy bubbles in the crust?
Three things: don’t overwork the dough after it rises, stretch it gently (no rolling pins!), and bake it on a screaming-hot stone or steel.
🧄 Suggested Variations & Flavor Boosters
If you’re feeling adventurous, here are a few ways to level up your pizza dough:
- Add garlic powder or dried oregano to the dough for aromatic crust.
- Brush the edges with olive oil + garlic before baking for a golden, flavorful finish.
- Try sourdough starter instead of commercial yeast for a tangier flavor (more advanced, but amazing).
- Infuse the olive oil with rosemary or chili flakes before adding it to the dough.
🍽️ My Favorite Pizza Toppings (Because Why Not?)
This dough is your blank canvas — here are a few of my go-to pizza combos:
- Classic Margherita: San Marzano tomatoes, fresh mozzarella, basil, EVOO
- White Pizza: Ricotta, mozzarella, roasted garlic, spinach
- Spicy Calabrian: Tomato sauce, ‘nduja, burrata, arugula
- Truffle Mushroom: Fontina, sautéed mushrooms, truffle oil drizzle
- Prosciutto & Fig: Mozzarella, figs, prosciutto, arugula, balsamic glaze
❤️ Final Thoughts & Encouragement
If this is your first time making homemade pizza dough, don’t worry if it’s not perfect. Dough takes practice — it’s a living thing. You’ll learn to feel when it’s just right. Even your “mistakes” will taste incredible (trust me — I’ve eaten plenty of them).
Making pizza at home is pure joy. It’s about the process, the aroma that fills your kitchen, the crispy edges, the soft chewy center — it’s magic.
This pizza crust recipe has become a ritual in our house — Friday nights, a little wine, some music, flour-dusted countertops, and a whole lot of love.
Now it’s yours too.
Buon appetito, my friend. 🍕🇮🇹
See Also: The Ultimate Fruit Pizza Recipe (Italian-Inspired & Beautifully Fresh)
