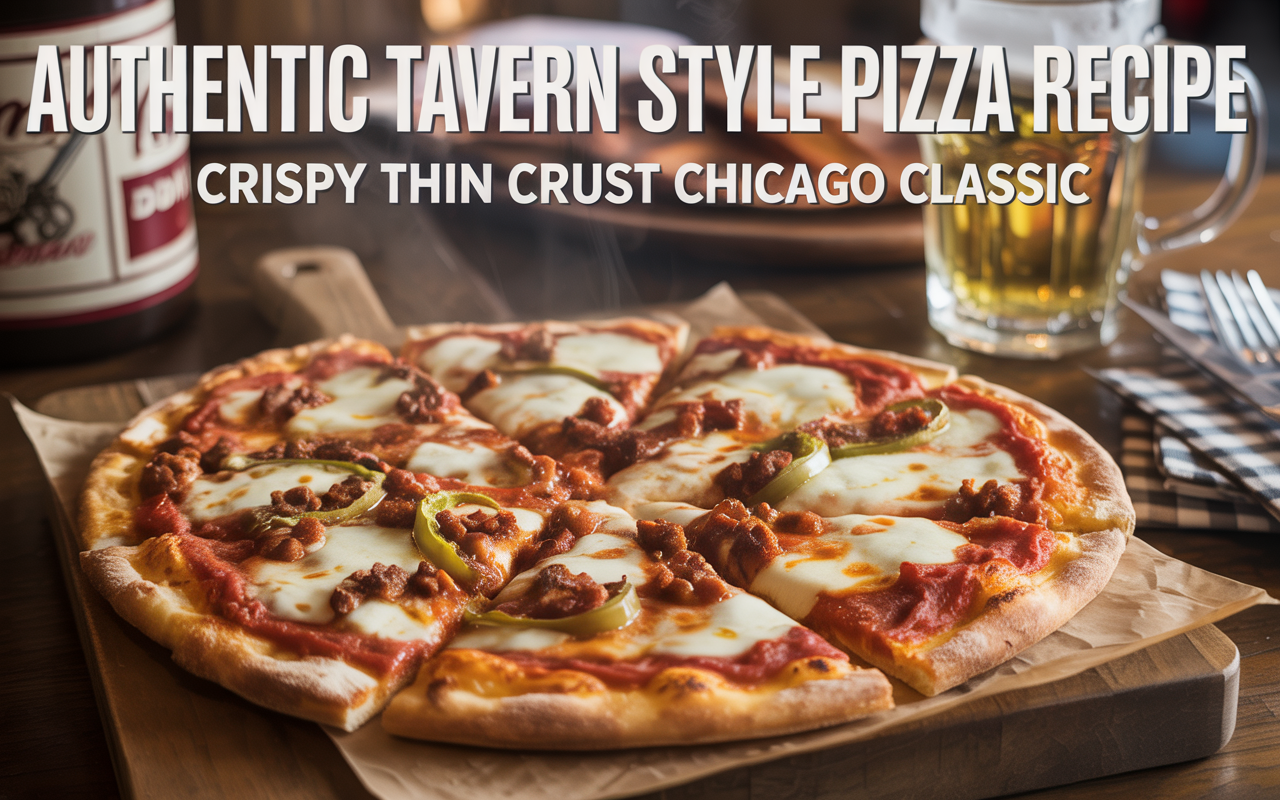
🍕 GF Pizza Base Recipe: A Gluten-Free Crust That Tastes Like the Real Deal
Let’s be honest. Gluten-free pizza crust has a reputation—and not always a great one. Too dry. Too crumbly. Too… cardboard. But after years of experimenting and testing, I finally landed on a GF pizza base recipe that’s light, chewy, golden on the outside, and sturdy enough to hold all your favorite toppings.
This isn’t one of those “good for gluten-free” recipes. This is a genuinely good pizza crust recipe that just happens to be gluten-free. Whether you’re living with celiac disease, gluten sensitivity, or just cutting gluten out of curiosity, this base is going to be your new Friday night favorite.
Let’s roll up our sleeves and make a pizza crust that doesn’t taste like an afterthought.

🧲 Ingredients for the Best Gluten-Free Pizza Crust
Here are the exact ingredients I use for one 12-inch crust:
| Ingredient | Quantity |
|---|---|
| Gluten-free all-purpose flour (with xanthan gum) | 2 cups (240g) |
| Warm water (110°F) | 3/4 cup (180ml) |
| Olive oil | 2 tbsp |
| Instant dry yeast | 2 1/4 tsp (1 packet) |
| Sugar | 1 tbsp |
| Salt | 1/2 tsp |
| Apple cider vinegar | 1 tsp |
| Optional: psyllium husk powder | 1 tbsp (for elasticity) |
Note: If your GF flour doesn’t contain xanthan gum, add 1 tsp to the mix.

🌟 Step-by-Step: How to Make This GF Pizza Base
Step 1: Activate the Yeast
- In a bowl, combine warm water, sugar, and yeast.
- Let it sit for 5–7 minutes until foamy. If it doesn’t foam, your yeast might be dead.
Step 2: Mix the Dough
- In a large bowl, whisk together the GF flour, salt, and psyllium husk if using.
- Add the yeast mixture, olive oil, and apple cider vinegar.
- Stir until combined. The dough will be wetter and more like a thick batter—that’s normal.
Step 3: Let It Rise
- Cover the bowl with a clean towel or plastic wrap.
- Let the dough rise for 30–45 minutes in a warm place. It should puff up slightly.
Step 4: Preheat and Prep
- Preheat your oven to 450°F (230°C).
- Place a baking sheet or pizza stone in the oven to preheat as well.
- Meanwhile, cut a sheet of parchment paper and lightly oil it.
Step 5: Shape the Dough
- Transfer the dough onto the oiled parchment.
- Use oiled hands or a spatula to spread it into a 10- to 12-inch circle about 1/4 inch thick.
- Smooth the edges for that perfect crust.
Step 6: Par-Bake the Crust
- Transfer the crust (with parchment) to your hot baking sheet or stone.
- Bake for 10–12 minutes until just set and lightly golden.
Step 7: Top and Bake Again
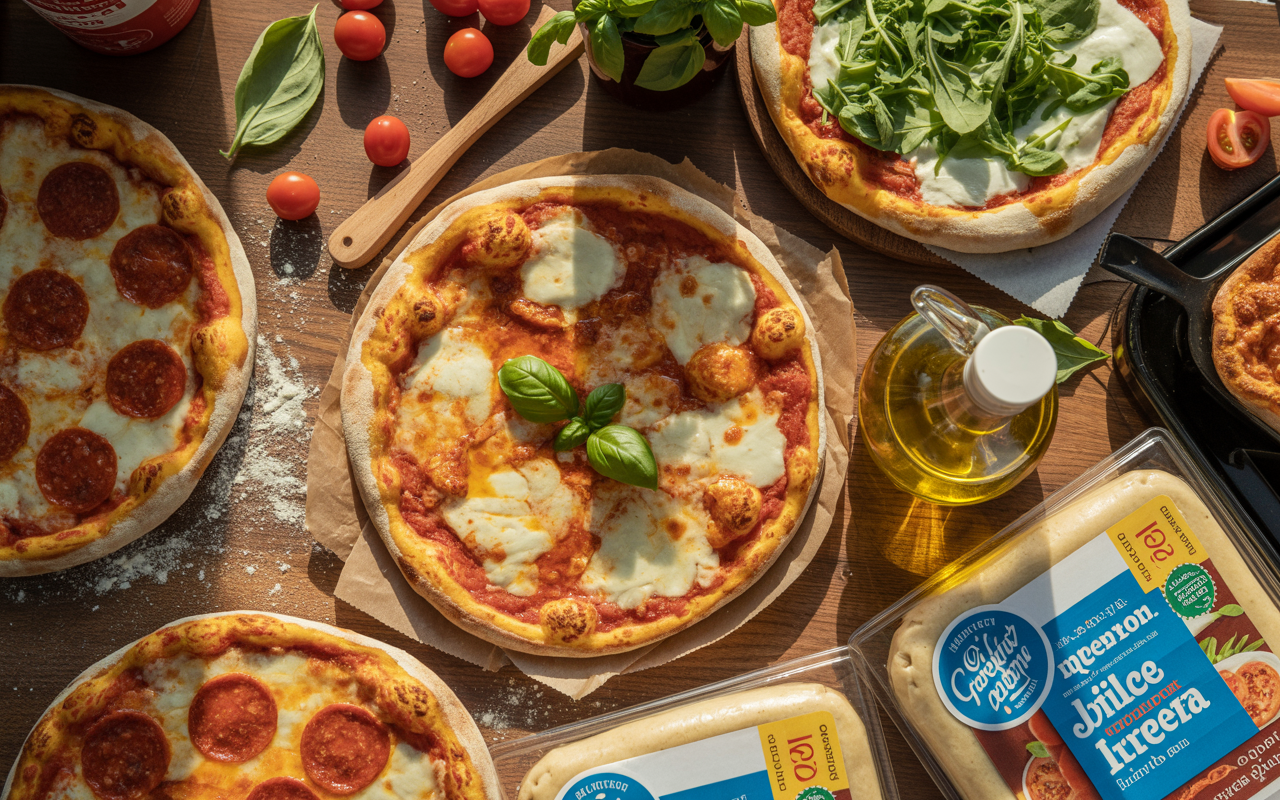
- Remove from oven, add sauce, cheese, and toppings of your choice.
- Return to oven and bake another 8–10 minutes until everything is bubbling and golden.

🪡 Tips & Tricks for Gluten-Free Pizza Success
- Use a flour blend with binders. If your GF flour doesn’t have xanthan gum or guar gum, you must add it for structure.
- Psyllium husk is magic. It gives your dough that real-pizza chew.
- Don’t skip the par-bake. This keeps the crust from getting soggy under your toppings.
- Oil your hands! GF dough is sticky. A little olive oil makes shaping a breeze.
- Let it rest before slicing. This helps set the structure and improves texture.
🎓 FAQ: Everything You Want to Know
Can I freeze the dough?
Yes! Shape and par-bake the crust first. Cool, wrap tightly, and freeze. When ready, top and bake straight from frozen at 450°F.
Can I make this crust dairy-free and egg-free?
Absolutely. This recipe is naturally vegan. Just choose your toppings accordingly.
What if I don’t have psyllium husk?
You can skip it, but the crust will be more delicate. Try using an extra 1/2 tsp xanthan gum if needed.
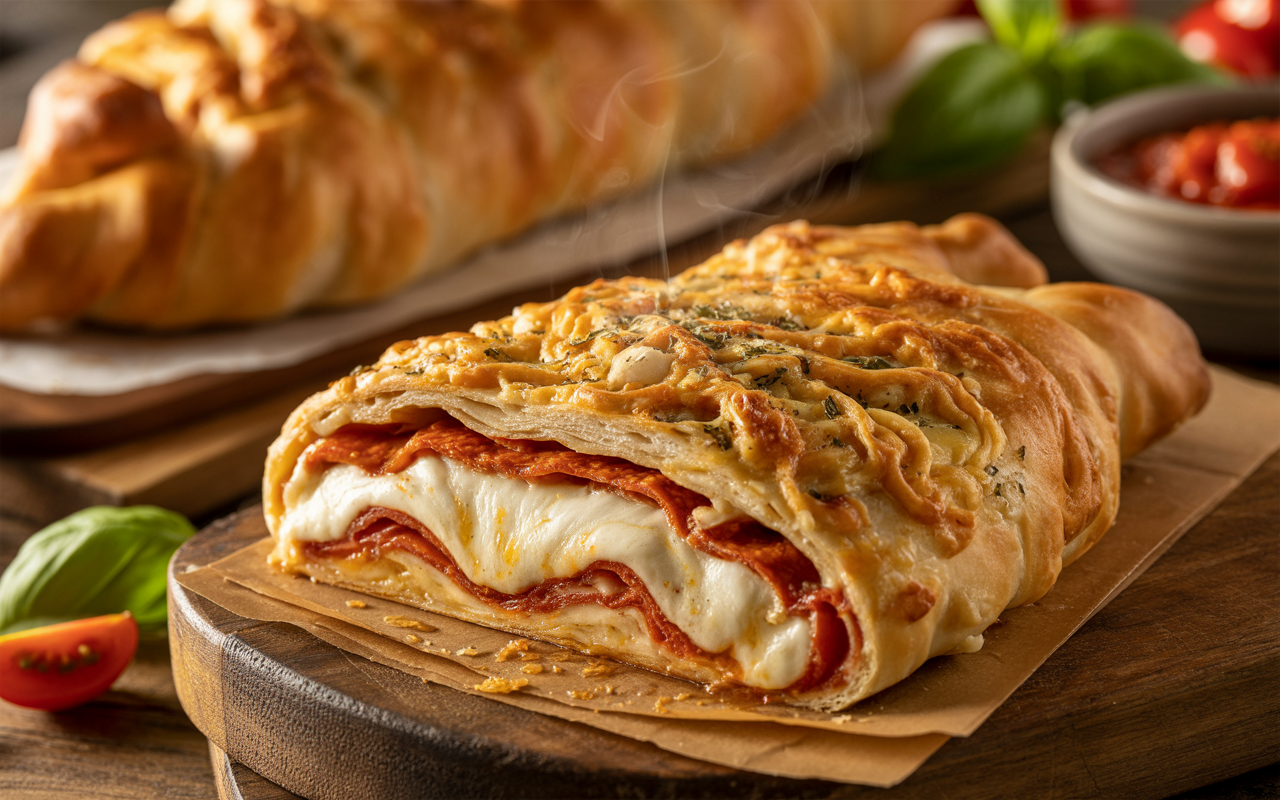
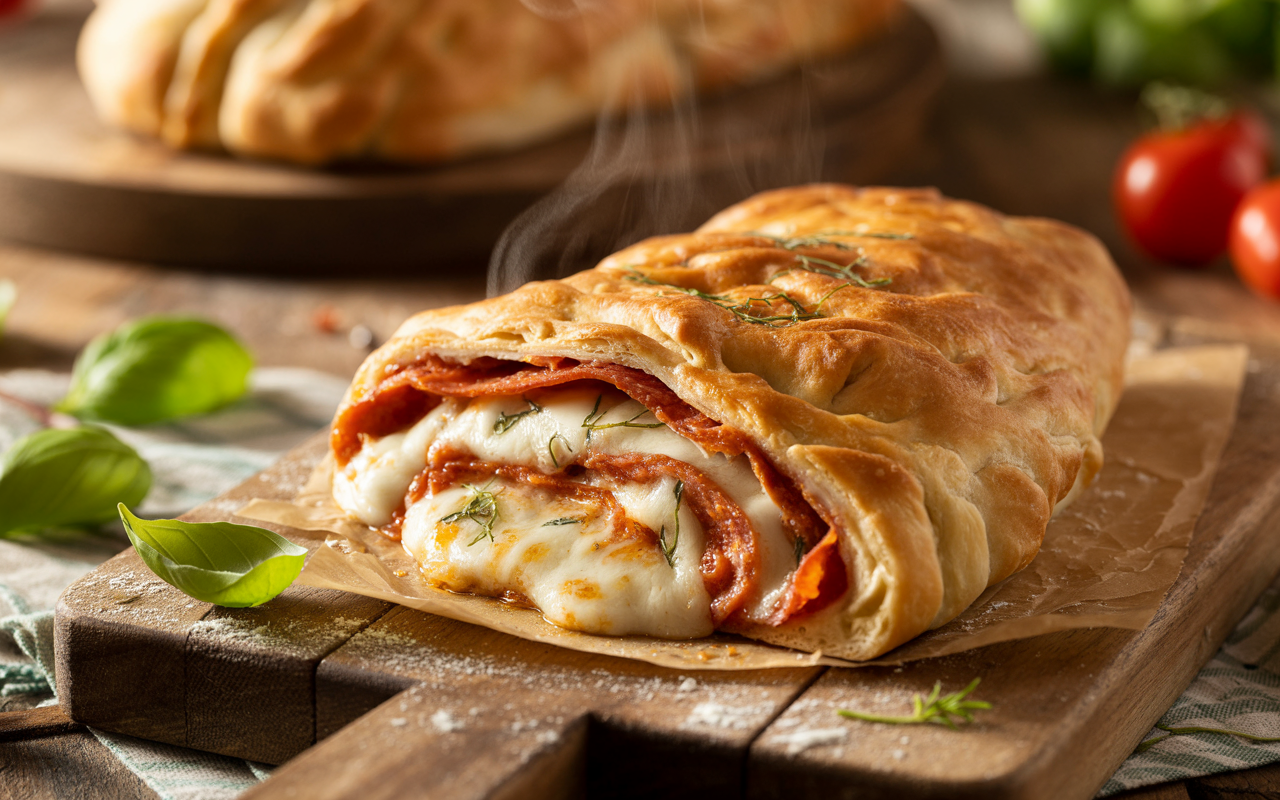
Can I use this dough for calzones or flatbreads?
Yes, just keep in mind the dough is more fragile than traditional wheat-based dough. Handle gently and par-bake when needed.
Why is my dough so sticky?
That’s gluten-free life! It’s normal. Oil your hands or spatula and trust the process.
🌿 Final Thoughts: Pizza Night, Reclaimed
There was a time when going gluten-free meant kissing pizza goodbye. But not anymore. This GF pizza base recipe is here to prove that gluten-free doesn’t mean giving up flavor, chew, or crispy crust dreams.
I love how flexible this dough is. Make it thin and crispy or thick and chewy. Load it with cheese, veggies, or pepperoni. Fold it like a New Yorker or eat it with a fork if you must—I won’t judge.
See Also: Cast Iron Pizza Recipe – Crispy Crust, Melty Cheese, No Pizza Stone Needed!

Vinit Hirave is a passionate content writer for Pizzetteria Brunetti. A true pizza enthusiast, Vinit’s love for authentic flavors goes beyond the keyboard—he has hands-on experience working in a pizza shop, giving him a deep understanding of what makes a perfect slice. Through his writing, he shares stories, tips, and insights that reflect both his industry knowledge and his genuine affection for the art of pizza-making.


Leave a Reply