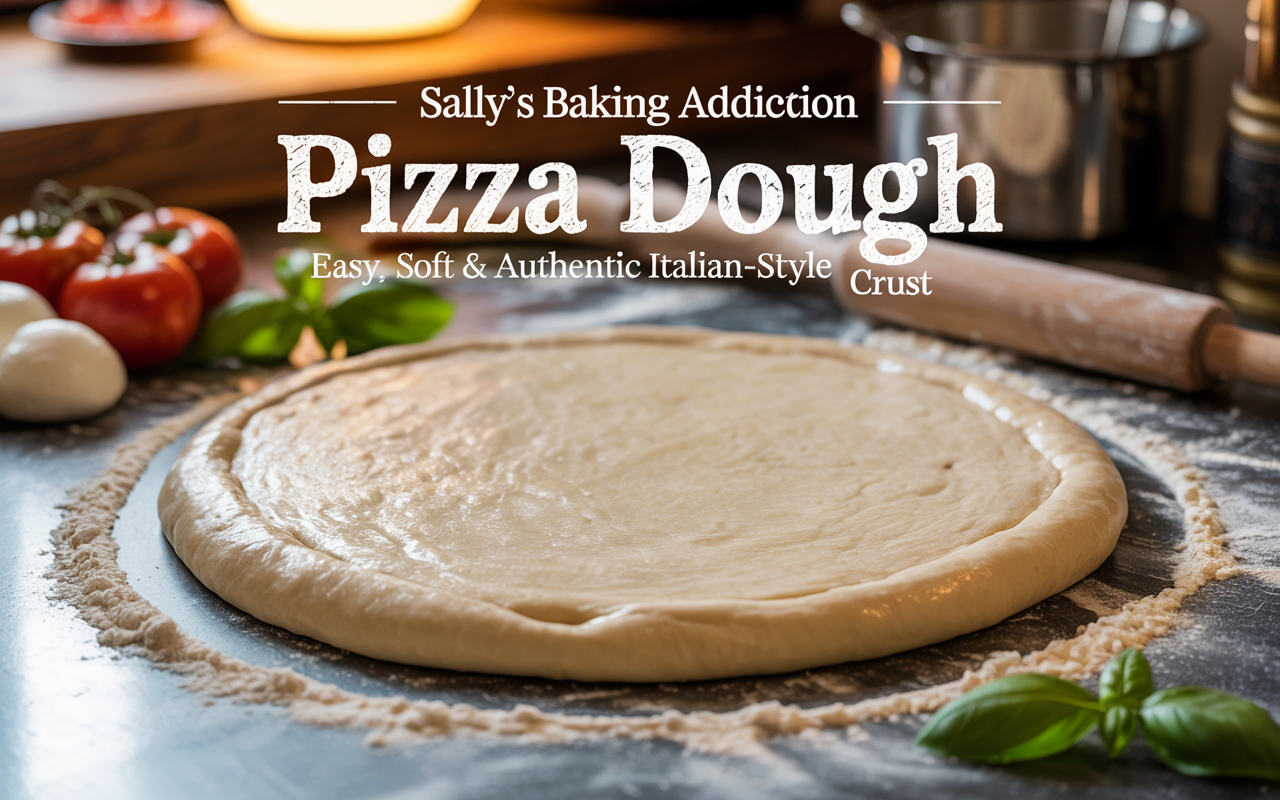
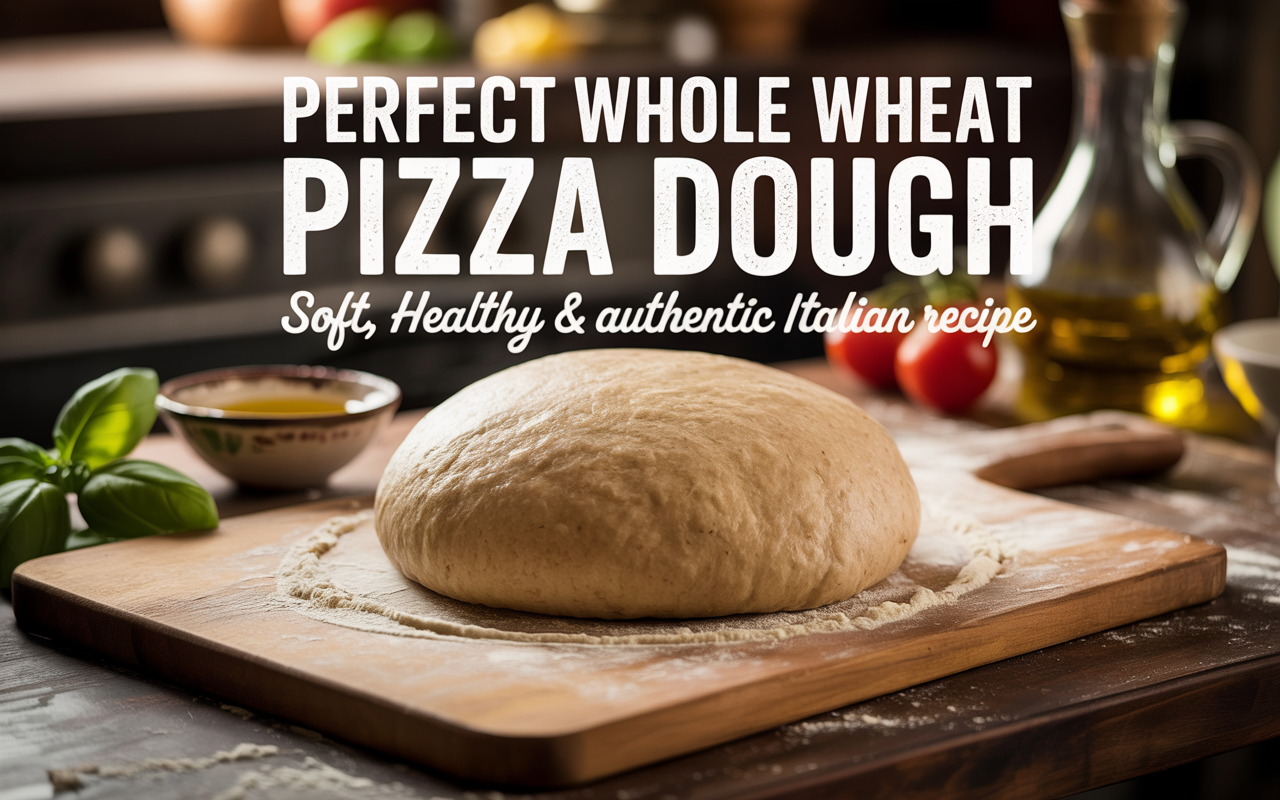
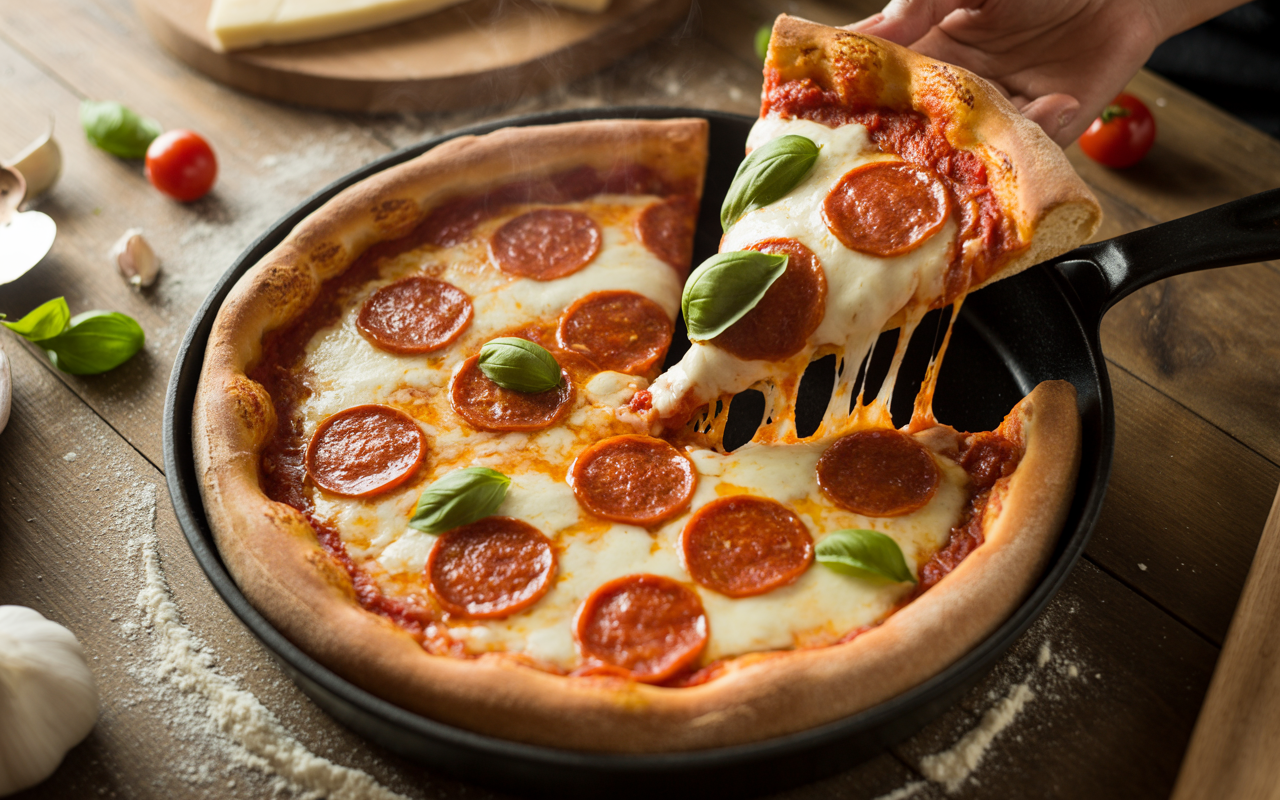
The Best Simple Pizza Crust Recipe – Foolproof, Flavorful, and Perfect Every Time
There’s something magical about homemade pizza. The way the dough puffs up in the oven, the smell of toasted flour and bubbling cheese filling the kitchen, and that satisfying crunch as you bite into the crust—it’s unbeatable.
But let’s be honest: sometimes pizza dough recipes can feel intimidating. Too many steps. Too much waiting. Complicated techniques. That’s why today I’m sharing my simple pizza crust recipe—one that’s straightforward, forgiving, and absolutely delicious.
This is the recipe I’ve made hundreds of times in my own kitchen. It’s my go-to when friends are coming over for pizza night, when the kids want to help roll out dough, or when I just need a quick, comforting dinner. And the best part? You don’t need to be a professional baker to master it. With a few pantry staples and some patience, you’ll have a crust that’s crisp on the outside, soft and chewy on the inside, and packed with flavor.
So grab your flour, roll up your sleeves, and let’s make pizza magic happen.
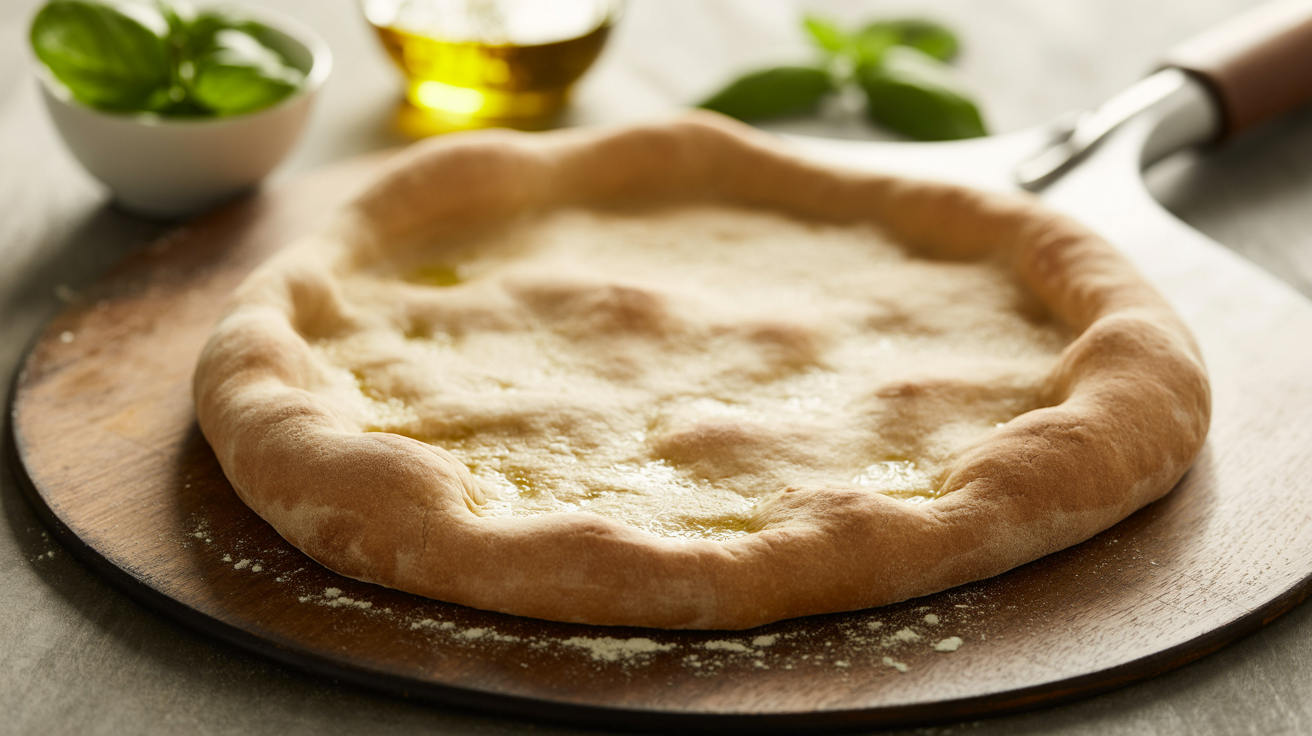
Ingredients for the Simple Pizza Crust
This recipe uses basic, everyday ingredients. No fancy flours or complicated ratios—just simple, tried-and-true elements that work beautifully together.
| Ingredient | Measurement | Notes |
|---|---|---|
| All-purpose flour | 3 ½ cups (440 g) | Bread flour works too for more chew |
| Warm water (95–105°F / 35–40°C) | 1 ⅓ cups (315 ml) | Warm, not hot—this helps activate the yeast |
| Active dry yeast | 2 ¼ tsp (1 packet / 7 g) | Instant yeast can also be used |
| Olive oil | 2 tbsp | Adds flavor and tenderness |
| Sugar | 1 tbsp | Helps feed the yeast |
| Salt | 2 tsp | Balances flavor |
Step-by-Step Instructions
Step 1 – Activate the yeast
In a small bowl, combine warm water, yeast, and sugar. Stir gently and let it sit for about 5–8 minutes. You’ll see a frothy foam forming on top—that’s your yeast waking up.
Step 2 – Mix the dough
In a large bowl, combine flour and salt. Make a well in the center and pour in the yeast mixture along with olive oil. Mix with a spoon or your hands until it forms a shaggy, sticky dough.
Step 3 – Knead
Turn the dough out onto a lightly floured surface. Knead for 8–10 minutes until smooth, elastic, and slightly tacky. If you’re using a stand mixer, knead with a dough hook for 5–6 minutes.
Step 4 – First rise
Transfer the dough to a lightly oiled bowl, cover with a clean towel or plastic wrap, and let it rise in a warm spot for 1–1 ½ hours, or until it doubles in size.
Step 5 – Shape
Punch down the dough to release air bubbles. Divide into two equal portions (this recipe makes two medium pizzas). Roll out each ball on a floured surface into a circle or rectangle, depending on your pan or stone.
Step 6 – Top and bake
Preheat your oven to 475°F (245°C). Place your shaped dough on a pizza stone, baking sheet, or pan brushed with olive oil. Add sauce, cheese, and toppings of your choice. Bake for 12–15 minutes, until the crust is golden and crisp.
Step 7 – Slice and enjoy
Remove from the oven, let cool slightly, then slice into wedges. The aroma alone will draw everyone to the table before you even serve it.
Why This Simple Pizza Crust Recipe Works
- Balanced hydration: Enough water to keep the dough tender but easy to handle.
- Olive oil magic: Gives richness and flavor, plus a touch of crispness.
- Quick but flavorful: With just one rise, you get airy, soft dough without waiting all day.
- Versatile base: Works beautifully with classic tomato sauce and mozzarella, but also stands up to bold toppings.
Tips & Tricks for Perfect Pizza Crust
- Use bread flour for extra chew. All-purpose flour works fine, but bread flour gives that authentic pizzeria bite.
- Don’t skip the rise. Letting the dough rest is what creates flavor and texture.
- Preheat your oven fully. A hot oven is non-negotiable for great pizza.
- Invest in a pizza stone. It helps mimic the heat of a wood-fired oven, giving you crisp bottoms.
- Brush the crust with olive oil. This gives it that golden-brown sheen and extra flavor.
- Less is more with toppings. Don’t overload; let the crust shine.
- Freeze extra dough. Wrap tightly in plastic wrap, freeze, and thaw overnight in the fridge when needed.
FAQ Section
Q: Can I make this dough ahead of time?
Yes! After the first rise, you can refrigerate it overnight. Just bring it back to room temperature before shaping.
Q: Do I need a stand mixer?
Nope. I often make this by hand—it’s therapeutic, and the kneading helps you feel the dough’s elasticity develop.
Q: Can I use whole wheat flour?
Yes, replace up to half the flour with whole wheat for a nuttier flavor. The crust will be denser but still delicious.
Q: How do I get a super crispy bottom?
Bake on a preheated pizza stone or a cast-iron skillet. Both hold heat beautifully and crisp up the base.
Q: How thin can I roll this dough?
Pretty thin! For New York–style pizza, roll it thinner. For thicker, fluffier crust, leave it about ½ inch thick.
Final Thoughts
At the end of the day, pizza is about joy. It’s about gathering friends and family around the table, tearing into a crust that’s crisp, chewy, and full of character. With this simple pizza crust recipe, you don’t need fancy tools or bakery skills—you just need a little time, some basic ingredients, and the love of good food.
Every time I make this dough, I’m reminded why homemade pizza is so special. It’s not just the flavor (though that’s unbeatable), but the process. Watching yeast bubble to life, kneading dough until it springs back, smelling the oven as it bakes—these little rituals connect us to centuries of pizza-making tradition.
So the next time the craving hits, skip the store-bought crust. Try this recipe, trust the process, and enjoy the satisfaction of pulling a perfect pizza out of your own oven. Once you do, I promise—pizza night at your house will never be the same.
Buon appetito, my friend. 🍕✨
See Also: Authentic Sicilian Pizza Crust Recipe – Thick, Crispy & Airy Perfection


