
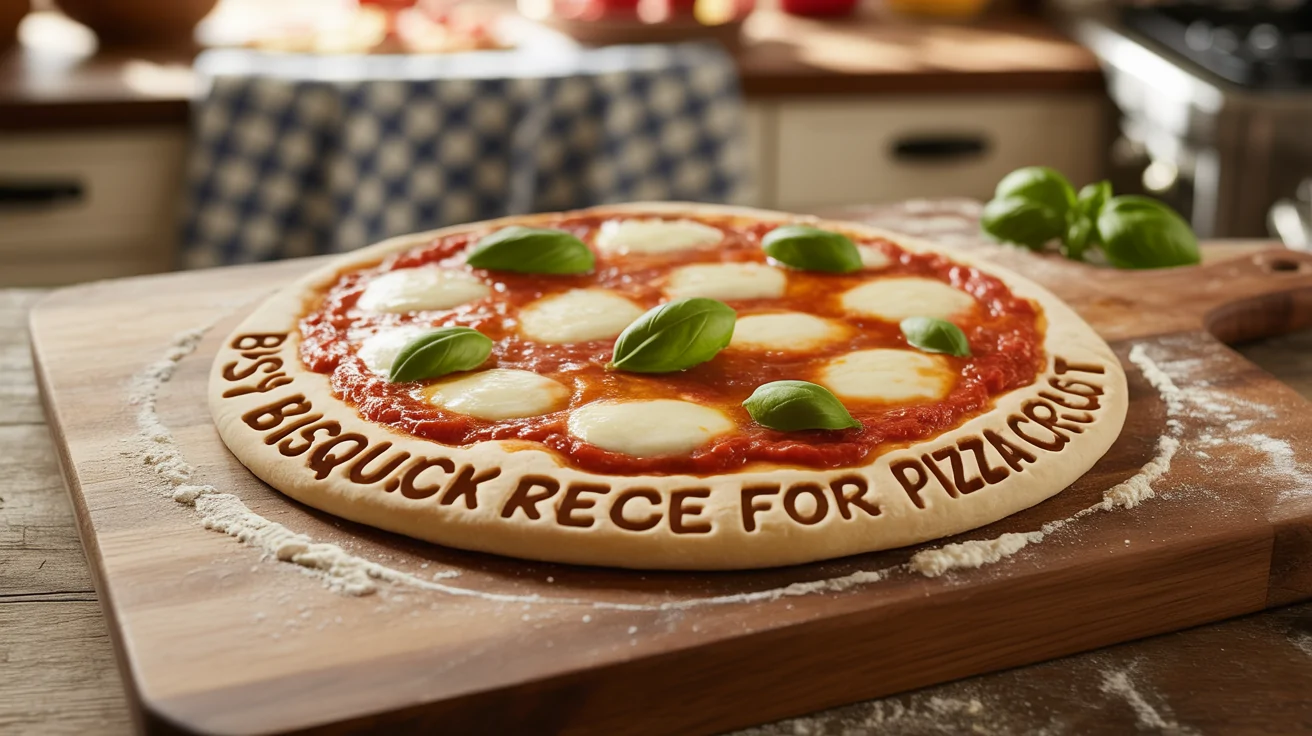
Bisquick Recipe for Pizza Crust — The Ultimate Homemade Italian Style
Pizza is more than food; it’s an experience. The aroma of a freshly baked crust, the bubbling cheese, the harmony of toppings — it’s pure magic. But what if I told you that making authentic pizza crust at home doesn’t have to be complicated?
Enter my favorite shortcut: a Bisquick recipe for pizza crust. This method delivers a delightfully soft yet crispy base that’s perfect for homemade pizzas — without hours of kneading or rising. It’s quick, easy, and still packed with that Italian charm we all crave.
Whether you want to make a classic Margherita, a veggie-loaded masterpiece, or an indulgent four-cheese pizza, this crust is the perfect canvas.
Let’s dive in. I’ll walk you through my personal method, share tips and tricks, and answer all your burning questions about Bisquick pizza crust.

Why Bisquick Makes an Amazing Pizza Crust
If you’ve ever tried making pizza from scratch, you know the time commitment can be daunting. Bisquick — a versatile baking mix of flour, baking powder, shortening, and salt — changes the game.
Here’s why:
- Speed — No yeast, no long rising times.
- Ease — Just mix and bake.
- Versatility — Works for thick crusts, thin crusts, and even mini pizzas.
- Consistent results — You get perfect crust texture every time.
This recipe will also show you how to tweak Bisquick for a more authentic Italian flavor, so it feels like you’re in a Napoli pizzeria rather than your home kitchen.

Ingredients Table: Bisquick Pizza Crust Recipe
Here’s everything you’ll need to make this quick and delicious crust:
| Ingredient | Measurement |
|---|---|
| Bisquick mix | 2 cups (240 g) |
| Milk | 1 cup (240 ml) |
| Mozzarella cheese (shredded) | 1 cup (100 g) |
| Olive oil | 2 tablespoons |
| Salt | ½ teaspoon |
| Garlic powder | ½ teaspoon |
| Italian seasoning | 1 teaspoon |
Optional toppings for pizza: tomato sauce, fresh basil, pepperoni, olives, bell peppers, onions, mushrooms, etc.

Step-by-Step Instructions: Bisquick Recipe for Pizza Crust
Let’s walk through making this Bisquick pizza crust step by step so you can nail it the first time.
Step 1 — Preheat Your Oven
Set your oven to 425°F (220°C). If you have a pizza stone, place it in the oven to preheat for an extra crispy crust.
Step 2 — Mix the Dough
In a large mixing bowl, combine:
- Bisquick mix
- Milk
- Olive oil
- Salt
- Garlic powder
- Italian seasoning
Mix until a soft dough forms. It should be slightly sticky but manageable.
Step 3 — Prepare Your Pizza Pan
Lightly grease your pizza pan with olive oil or non-stick spray. You can also use parchment paper for easier cleanup.
Step 4 — Shape the Crust
Using your hands or a rolling pin, spread the dough evenly across your pizza pan to your desired thickness. A thinner crust will be crispier, while a thicker crust will be chewier.
Step 5 — Pre-Bake the Crust
Bake the crust for 7–10 minutes before adding toppings. This step ensures a firm base that won’t get soggy under the sauce.
Step 6 — Add Your Toppings
Spread tomato sauce evenly over the crust. Add mozzarella cheese, then layer your favorite toppings.
Step 7 — Bake the Pizza
Return the pizza to the oven and bake for 12–15 minutes, or until the cheese is melted and bubbly, and the crust is golden brown.
Step 8 — Serve and Enjoy
Let the pizza cool for a few minutes before slicing. Garnish with fresh basil, a sprinkle of parmesan, or chili flakes for that perfect touch.
Tips & Tricks for the Best Bisquick Pizza Crust
Here’s where my years of pizza experimentation pay off. These tips will take your Bisquick crust from good to unforgettable.
- Don’t Overmix — Overworking the dough can make it tough. Mix just until combined.
- Add Extra Flavor — Mix dried oregano or rosemary into the dough for a fragrant Italian aroma.
- Cheese in the Crust — Add shredded mozzarella into the dough for an extra cheesy bite.
- Par-Bake the Crust — This keeps your toppings from making the crust soggy.
- Experiment with Thickness — Roll for a thin crust, or pat thicker for a chewy, deep-dish style.
- Use a Pizza Stone — It makes a huge difference for a crispier crust.
FAQ — Bisquick Pizza Crust
Q1 — Can I make this crust gluten-free?
Yes! Use a gluten-free Bisquick mix. The texture will be slightly different, but it’s delicious.
Q2 — How do I store leftover crust?
Wrap it tightly in plastic wrap and store in the fridge for up to 2 days. You can reheat in the oven for a few minutes before adding toppings.
Q3 — Can I freeze this dough?
Absolutely. Shape your crust, wrap in foil, and freeze for up to 1 month. Thaw before baking.
Q4 — Can I make the crust ahead of time?
Yes. Mix the dough, shape it, and refrigerate for up to 24 hours. This can deepen flavor and make shaping easier.
Q5 — What’s the best way to make a thin crust?
Roll the dough as thin as possible and pre-bake for about 8 minutes before adding toppings.
Why This Recipe Works for Home Cooks
This Bisquick recipe for pizza crust is perfect for home cooks because it combines convenience with flavor. You don’t need special equipment, and it’s quick enough for a weeknight dinner yet impressive enough for guests.
The combination of Bisquick’s ease and a few Italian tweaks — garlic powder, Italian seasoning, and olive oil — transforms this crust into something truly special.
Related Variations to Try
Here are a few variations I love experimenting with:
- Cheesy Bisquick Crust — Add parmesan and mozzarella into the dough for a rich, cheesy base.
- Herb Bisquick Crust — Mix fresh herbs like basil, oregano, or thyme into the dough for an aromatic crust.
- Whole Wheat Bisquick Crust — Substitute half of the Bisquick with whole wheat flour for a healthier option.
- Stuffed Crust Pizza — Fold cheese or spinach into the edges of your crust for a gooey surprise.
Final Thoughts — Master Your Bisquick Pizza Crust
Making pizza at home doesn’t have to be complicated. This Bisquick recipe for pizza crust is proof that you can have a delicious, Italian-style pizza without hours of preparation.
Whether you want a crispy thin crust, a soft chewy crust, or something in between, this recipe adapts beautifully to your taste.
So preheat your oven, roll out your dough, and let the magic happen. Your kitchen will smell like an Italian pizzeria in no time.
Remember — pizza is all about creativity. Experiment with toppings, cheeses, and seasonings. The crust is your canvas.
And with Bisquick in your kitchen, creating your own pizza masterpiece is just minutes away.
See Also: Best Betty Crocker Pizza Dough Recipe | Easy & Authentic Homemade Pizza

Vinit Hirave is a passionate content writer for Pizzetteria Brunetti. A true pizza enthusiast, Vinit’s love for authentic flavors goes beyond the keyboard—he has hands-on experience working in a pizza shop, giving him a deep understanding of what makes a perfect slice. Through his writing, he shares stories, tips, and insights that reflect both his industry knowledge and his genuine affection for the art of pizza-making.


Leave a Reply