Introduction – The Comfort of Homemade Pan Pizza
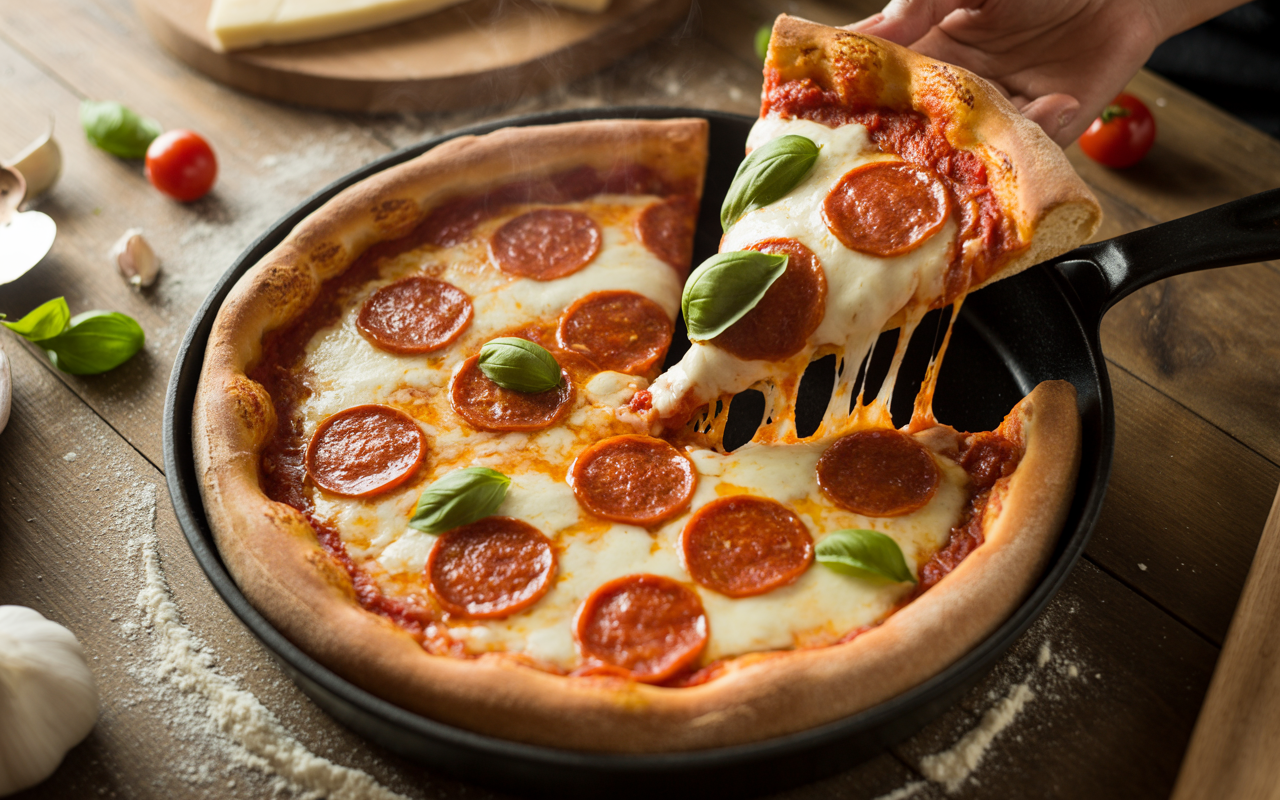
If there’s one thing that brings my family to the kitchen faster than the smell of garlic sautéing in olive oil, it’s the aroma of a pan pizza baking to golden perfection. That sizzling sound, the bubbling cheese, and the crispy edge that crunches just right — oh, it’s magic.
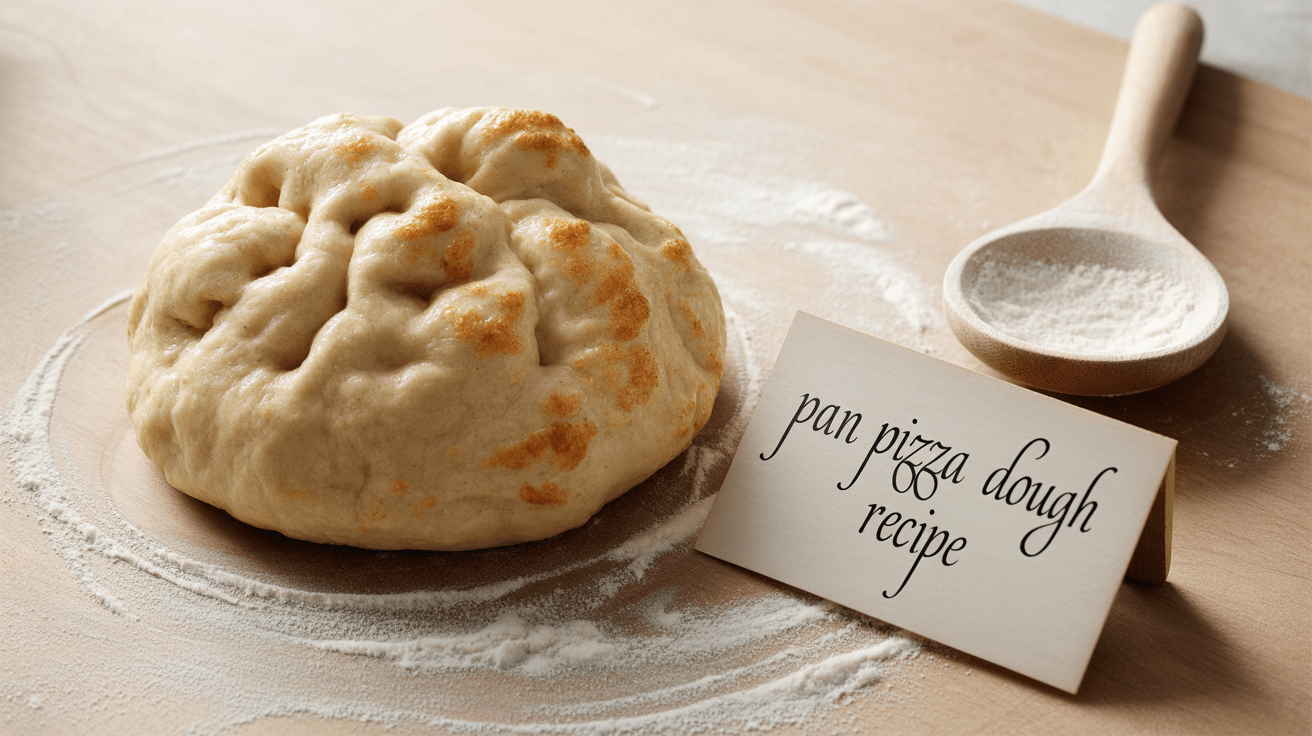
This pan pizza dough recipe is the result of years of testing, tweaking, and tasting. Whether you love the deep-dish charm of Detroit-style pizza or the chewy, golden crust of an old-school Italian pizzeria, this dough delivers. It’s soft on the inside, crisp on the outside, and strong enough to hold all your favorite toppings.
The best part? You don’t need a fancy oven or a pizza stone — just a cast iron skillet or a baking pan, a little patience, and the joy of cooking.
🧂 Ingredients & Measurements
| Ingredient | Quantity | Notes |
|---|---|---|
| All-purpose flour | 3 cups (360g) | You can mix 50/50 with bread flour for extra chew |
| Warm water (110°F / 43°C) | 1 cup (240ml) | Lukewarm, not hot |
| Instant yeast | 2¼ tsp (7g) | 1 standard packet |
| Sugar | 1 tbsp | Helps activate the yeast |
| Salt | 1 tsp | For flavor balance |
| Olive oil | 3 tbsp | Adds richness & crispness |
| Cornmeal or semolina (optional) | 2 tbsp | For dusting the pan |
| Extra olive oil | As needed | To coat the pan and drizzle on dough |
Optional Add-ins for Extra Flavor:
- 1 tsp garlic powder or dried oregano for an Italian twist
- ½ tsp honey (for a slightly sweet, pizzeria-style dough)
👩🍳 Step-by-Step Instructions – My Foolproof Method
Step 1: Activate the Yeast (Optional for Instant Yeast)
If you’re using active dry yeast, dissolve it in warm water with sugar and let it sit for 5–10 minutes until frothy. If you’re using instant yeast, you can skip this step and mix it directly with the flour.
Chef’s Tip: The water should feel like a warm bath — not too hot, or it’ll kill the yeast.
Step 2: Mix the Dough
In a large bowl, combine flour, salt, sugar, and yeast. Gradually pour in the warm water and olive oil while mixing with your hand or a wooden spoon.
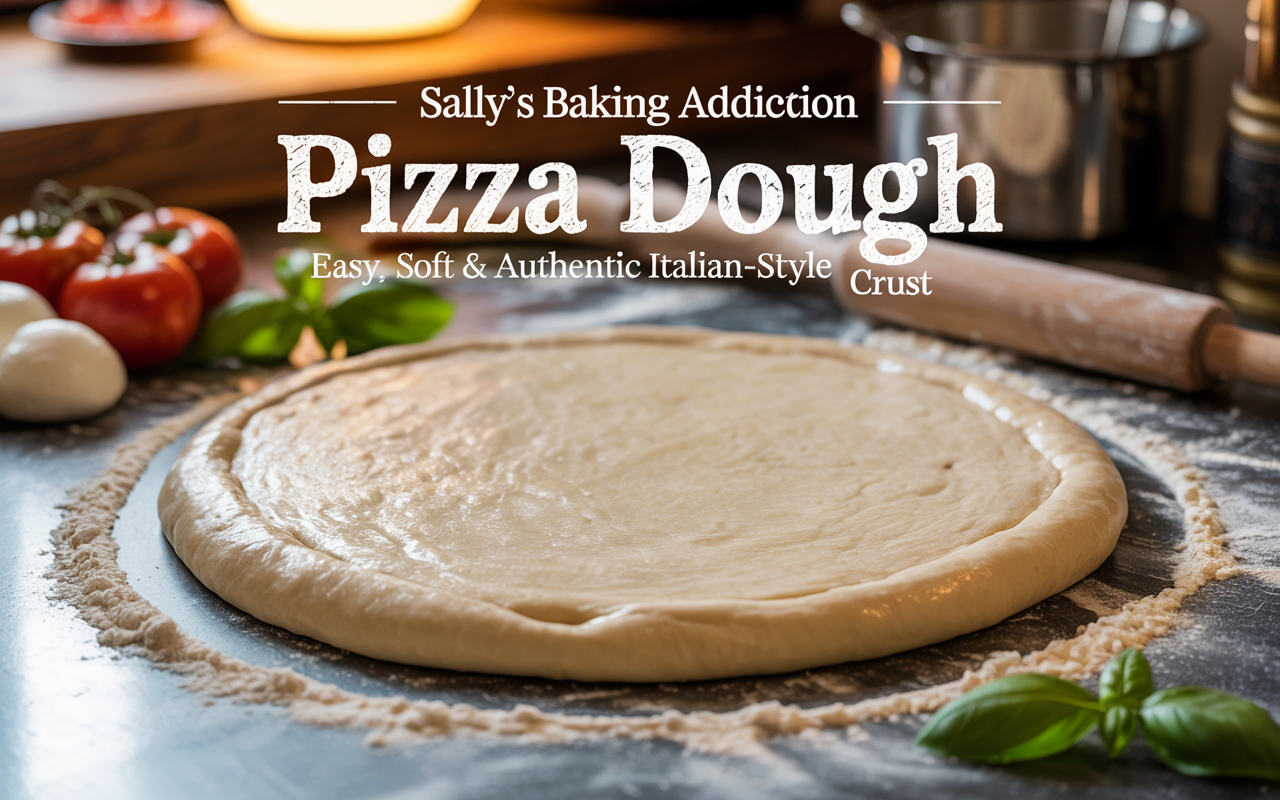
When the dough starts to come together, knead it on a lightly floured surface for about 8–10 minutes — until it’s smooth, elastic, and slightly tacky but not sticky.
This is where the magic begins — you’ll feel the dough come alive in your hands, soft yet strong.
Step 3: The First Rise (Proofing)
Place your dough in a lightly oiled bowl, turning it once so it’s coated in oil. Cover with plastic wrap or a damp kitchen towel.
Let it rise for 1 to 1½ hours in a warm spot until it doubles in size.
You’ll know it’s ready when you poke it with a finger and the dent slowly bounces back.
Step 4: Prepare the Pan
Generously oil your cast iron skillet or baking pan (around 10 to 12 inches wide). Sprinkle a bit of cornmeal or semolina on the bottom — this gives that authentic, crunchy crust.
Gently press your dough into the pan, stretching it to the edges. If it resists, let it rest for 5 minutes and then stretch again.
Step 5: Second Rise (Pan Rest)
Cover the pan and let the dough rest again for 30–45 minutes. This step gives your crust that pillowy lift and soft texture.
Meanwhile, preheat your oven to 475°F (245°C).
Step 6: Top It Like an Italian
Now comes the fun part — toppings!
For the classic Margherita-style pan pizza, I use:
- Tomato sauce (homemade or San Marzano)
- Fresh mozzarella slices
- A drizzle of olive oil
- A few fresh basil leaves
If you’re in the mood for something hearty, go for a meat lover’s combo — spicy sausage, bell peppers, caramelized onions, and a sprinkle of oregano.
Don’t overload it! The beauty of pan pizza is that every bite is balanced — rich dough, tangy sauce, and gooey cheese.
Step 7: Bake to Perfection
Place your pan in the bottom rack of the oven — this helps crisp up the base beautifully.
Bake for 15–20 minutes, until the crust is deep golden brown and the cheese is bubbling.
If you want that irresistible edge, brush a little olive oil around the crust halfway through baking.
Step 8: Slice & Serve
Let it cool for 5 minutes (yes, I know it’s hard to wait!) before slicing. The bottom should be crispy enough to hold, while the inside stays soft and airy.
Top with a sprinkle of Parmesan cheese and a drizzle of extra virgin olive oil.
Take a deep breath — that’s the smell of pure Italian happiness.
🍞 Tips & Tricks for Perfect Pan Pizza Dough
- Hydration matters: A slightly wetter dough (more water) gives a fluffier, more open crumb.
- Oil is your friend: Olive oil in the pan helps create that golden, crispy bottom.
- Cold fermentation = flavor bomb: Let the dough rest in the fridge for up to 48 hours for deeper, tangier flavor.
- Don’t skip the second rise: It’s key for a light, airy texture.
- Pan choice matters: Cast iron gives the best heat retention and crust, but any heavy pan works.
🍕 Common Variations
1. Detroit-Style Pan Pizza Dough
Use bread flour and a touch more oil (4 tbsp) for that caramelized cheese edge and thick, chewy bite.
2. Whole Wheat Pan Pizza Dough
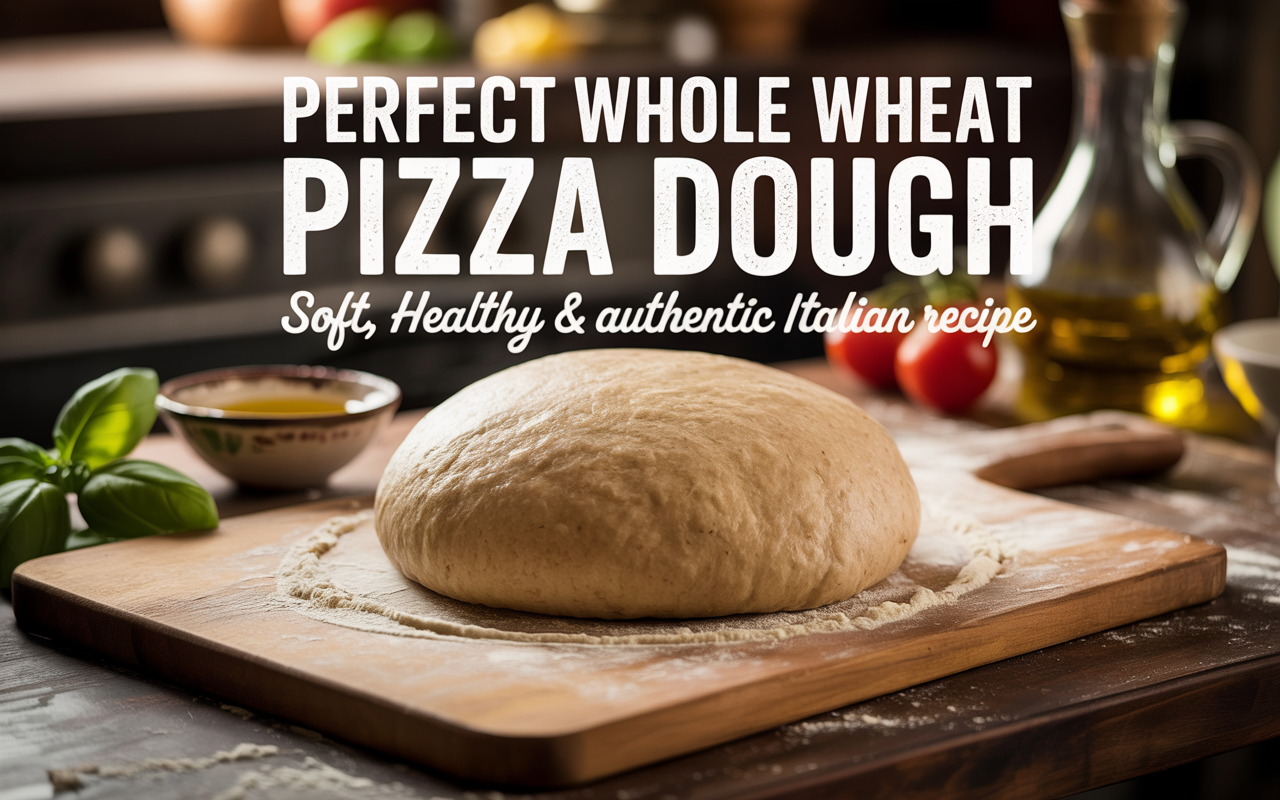
Replace 1 cup of all-purpose flour with whole wheat. It’ll be slightly denser but nutty and flavorful.
3. Gluten-Free Pan Pizza Dough
Use a gluten-free all-purpose blend plus 1 tsp xanthan gum for elasticity.
❓ FAQ Section
Q1. Can I make pan pizza dough without yeast?
Yes! Use 1 tsp baking powder + ½ tsp baking soda instead of yeast. It won’t have the same rise, but still makes a quick, tasty crust.
Q2. How do I store leftover dough?
After the first rise, coat it lightly with oil, cover tightly, and refrigerate for up to 3 days. You can also freeze it for a month.
Q3. Why is my crust soggy?
Too much sauce or low oven temperature. Always bake at high heat (at least 450°F) and keep sauce light.
Q4. Can I use pizza stone instead of pan?
You can, but you’ll lose that signature pan-style crispy edge. The pan’s oil is what gives it that fried crust texture.
Q5. How do I reheat pan pizza?
Reheat in a skillet over medium heat for 3–5 minutes — it restores crispiness better than a microwave ever could!
❤️ Final Thoughts – The Pizza That Feeds Your Soul
There’s something deeply satisfying about making pan pizza from scratch. The way the dough stretches under your fingers, the golden scent filling the kitchen, and that first bite when you hear the crunch — it’s pure joy.
Cooking, to me, is a love language. And this recipe is my love letter to anyone who believes that good food doesn’t need to be complicated — just made with heart.
So grab your pan, a handful of flour, and your favorite toppings. Turn on your oven, and let your kitchen smell like Italy tonight.
See Also: Pampered Chef Fruit Pizza Recipe | Fresh, Sweet & Irresistibly Easy Dessert Pizza


