🍕 Introduction: The Magic of a True Italian Pan Pizza Dough
There’s something utterly magical about a pan pizza.
That golden, crispy crust, the chewy interior, and the rich aroma of olive oil wafting through your kitchen — it’s comfort, simplicity, and indulgence all in one bite.
I still remember my first attempt at pan pizza back in Naples. My grandmother (Nonna Lucia) told me, “The dough is the heart — treat it with love, and it will reward you.”
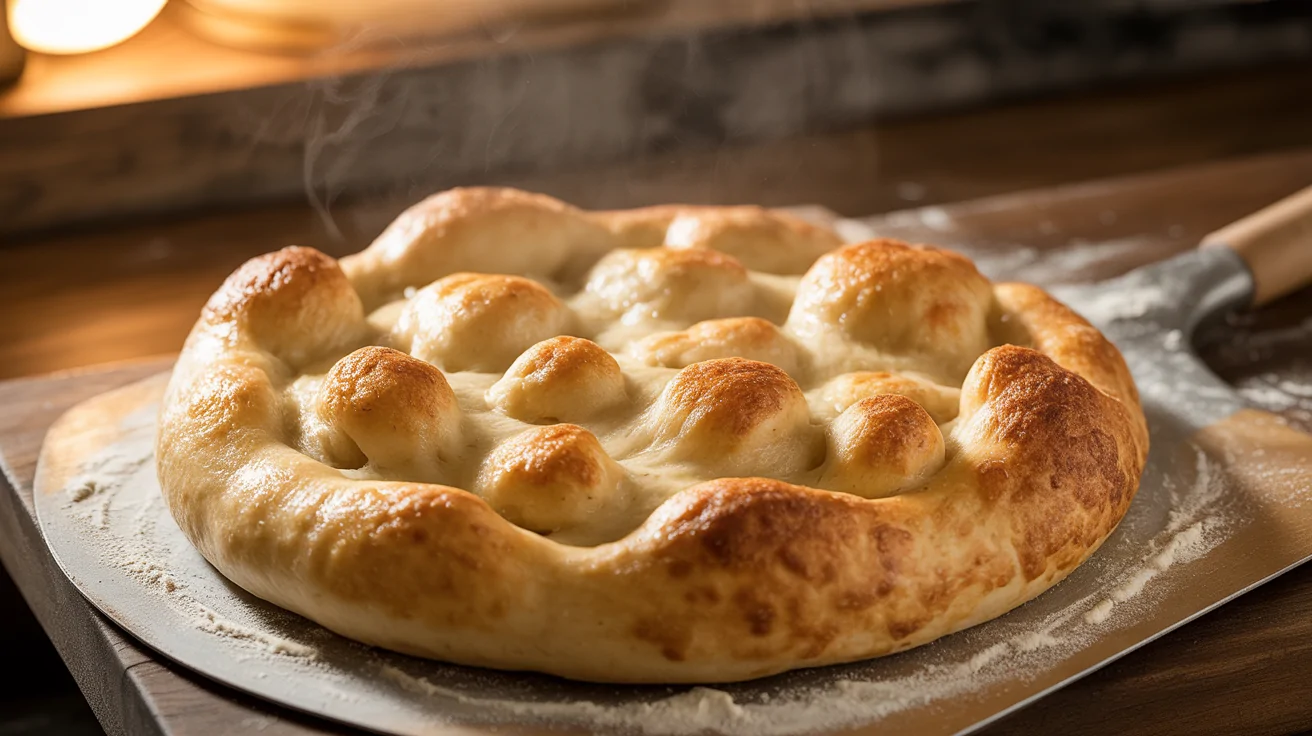
And she was right. Over the years, I’ve tested countless variations — from no-knead versions to 24-hour cold ferment doughs — but this recipe is my all-time favorite. It’s easy, reliable, and makes the perfect base for your cheesy creations, whether baked in a cast-iron skillet or a deep baking tray.
Let’s dive into this authentic Italian-style pan pizza dough recipe — your new go-to for cozy nights and pizza parties.
🧂 Ingredients & Measurements
Below is everything you need for one 12-inch pan pizza dough.
| Ingredient | Quantity | Notes |
|---|---|---|
| All-purpose flour (or bread flour) | 3 cups (375 g) | High-protein flour gives better chew |
| Instant dry yeast | 2¼ tsp (7 g) | One standard packet |
| Warm water (100°F / 38°C) | 1 cup (240 ml) | Not hot — just warm to activate yeast |
| Olive oil | 3 tbsp | Adds flavor & helps crisp the crust |
| Sugar | 1 tsp | Feeds the yeast |
| Salt | 1½ tsp | Balances the flavor |
| Cornmeal (optional) | 1 tbsp | For dusting the pan bottom |
| Extra olive oil | For greasing the pan | Enhances that golden crust |
🥣 Step-by-Step Instructions
Step 1: Activate the Yeast
In a large mixing bowl, combine warm water, sugar, and yeast. Stir lightly and let it sit for about 5–10 minutes.
You’ll see small bubbles forming — that’s your yeast waking up and getting ready to work its magic.
👉 If you’re using instant yeast, you can skip the waiting — mix it directly with your flour.
Step 2: Mix the Dough
Add flour and salt to your activated yeast mixture.
Start mixing with a wooden spoon until the dough begins to come together.
Now drizzle in 2 tablespoons of olive oil and mix again.
You’ll have a slightly sticky dough at first — don’t worry! That’s the sign of a soft, airy crust later.
Step 3: Knead to Perfection
Transfer your dough to a lightly floured surface and knead for 8–10 minutes.
You’re aiming for a smooth, elastic dough that springs back when gently pressed.
💡 Pro tip: If the dough feels too sticky, add a tablespoon of flour at a time. Don’t overdo it — you want hydration for that pillowy texture.
Step 4: First Rise (The Magic Hour)
Lightly oil a clean bowl and place the dough inside.
Cover with a damp towel or plastic wrap and let it rest for 1 to 1½ hours — or until it doubles in size.
During this time, the yeast develops flavor and air pockets — the secret behind that irresistible soft crumb.
Step 5: Prepare the Pan
Generously grease your pan (cast iron works best) with olive oil.
If you love a crispy base, sprinkle a bit of cornmeal before adding the dough.
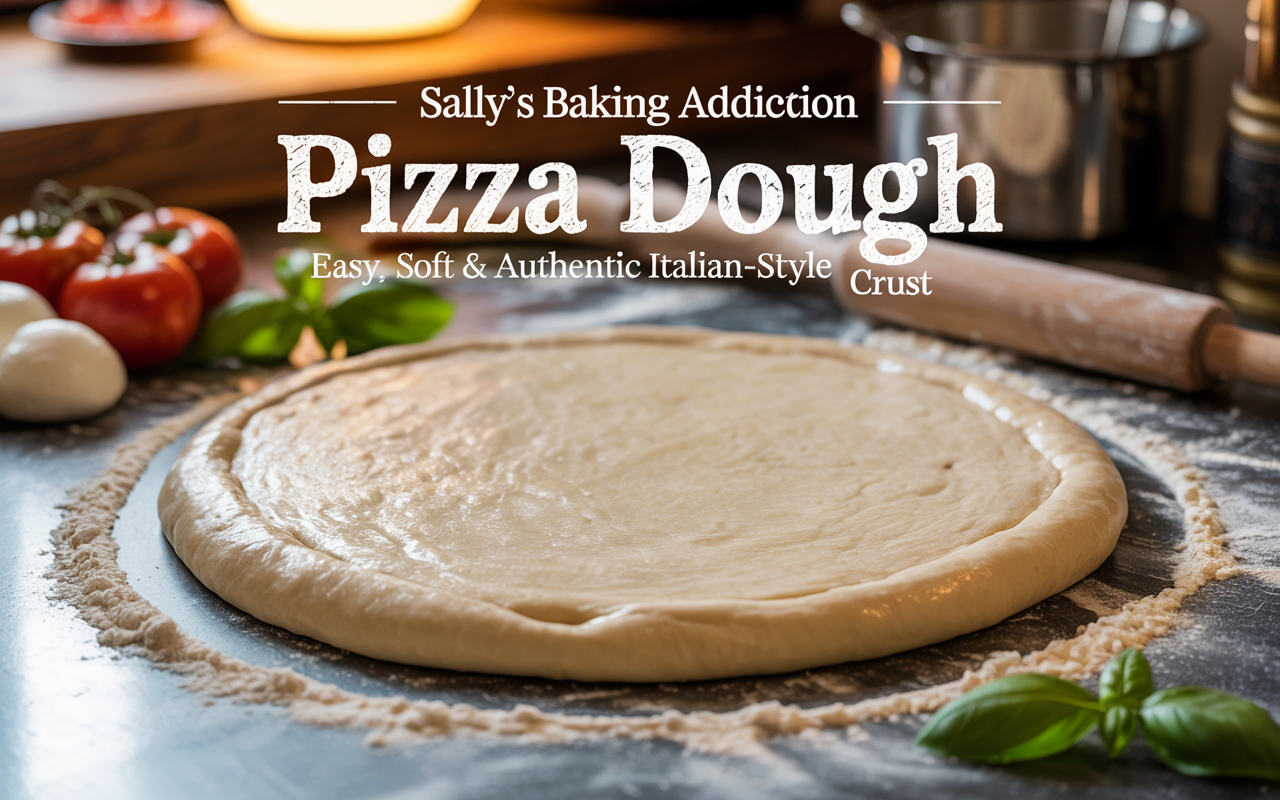
Once your dough has doubled, gently press it into the pan.
Stretch it out with your fingers — don’t use a rolling pin! The dough’s little bubbles are your friends.
Step 6: Second Rise (Don’t Skip It!)
Cover your pan and let the dough rest again for 30–45 minutes.
This step ensures your crust stays light and fluffy even under the weight of sauce and toppings.
Step 7: Add Sauce & Toppings
Now comes the fun part!
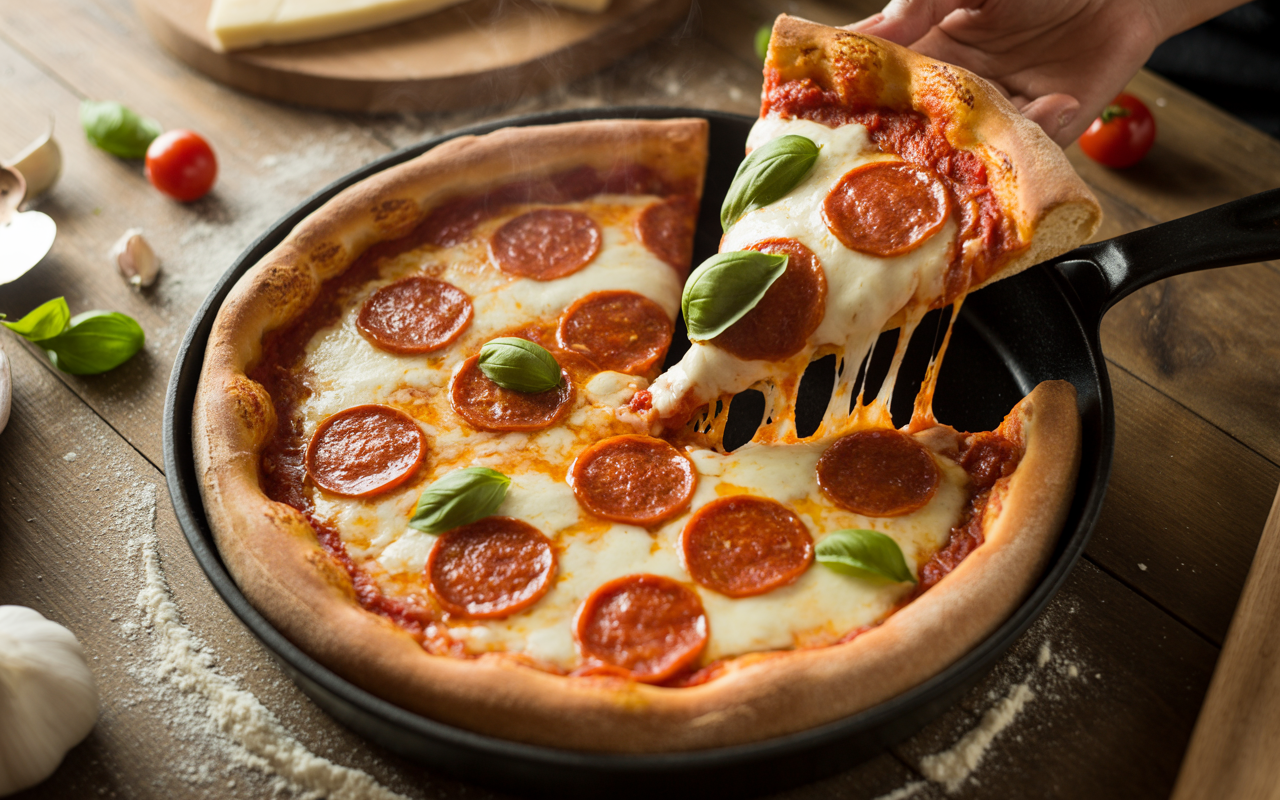
Spread your favorite homemade tomato sauce, sprinkle mozzarella, and top with whatever you like — pepperoni, mushrooms, or simple margherita-style fresh basil and olive oil.
💬 My favorite combo:
Tomato sauce + buffalo mozzarella + a drizzle of olive oil + oregano + sea salt = heaven.
Step 8: Bake to Golden Glory
Preheat your oven to 475°F (245°C).
Bake your pizza for 18–22 minutes — until the edges turn golden brown and the cheese bubbles beautifully.
If using a cast iron skillet, place it on the bottom rack for the first 10 minutes, then move it to the middle to crisp evenly.
Step 9: Slice, Serve & Celebrate!
Remove from the oven and let it rest for 5 minutes before slicing.
This helps the cheese set slightly and keeps your toppings in place.
Take that first bite — you’ll feel the crunch of the edges, the pillowy center, and the warm richness of olive oil.
Pure joy. 🍕
💡 Tips & Tricks for Perfect Pan Pizza Dough
- Use Bread Flour for Extra Chew
The higher protein helps create that signature Neapolitan-like texture. - Olive Oil is Your Secret Weapon
It’s what gives pan pizza its golden crisp bottom and deep flavor. - Don’t Skip the Second Rise
This resting time is key for a soft, airy interior. - Room Temperature Dough Works Best
Cold dough won’t stretch evenly — let it warm up for 30 minutes before baking. - Experiment with Cold Ferment
For next-level flavor, refrigerate your dough overnight, then let it come to room temp before baking. - Cast Iron = Crispy Edges
It conducts heat beautifully and gives that irresistible crunch. - Finish with a Drizzle of Olive Oil
Right out of the oven — it adds sheen and aroma, like they do in Italy.
❓ Frequently Asked Questions (FAQ)
1. Can I use whole wheat flour instead of all-purpose flour?
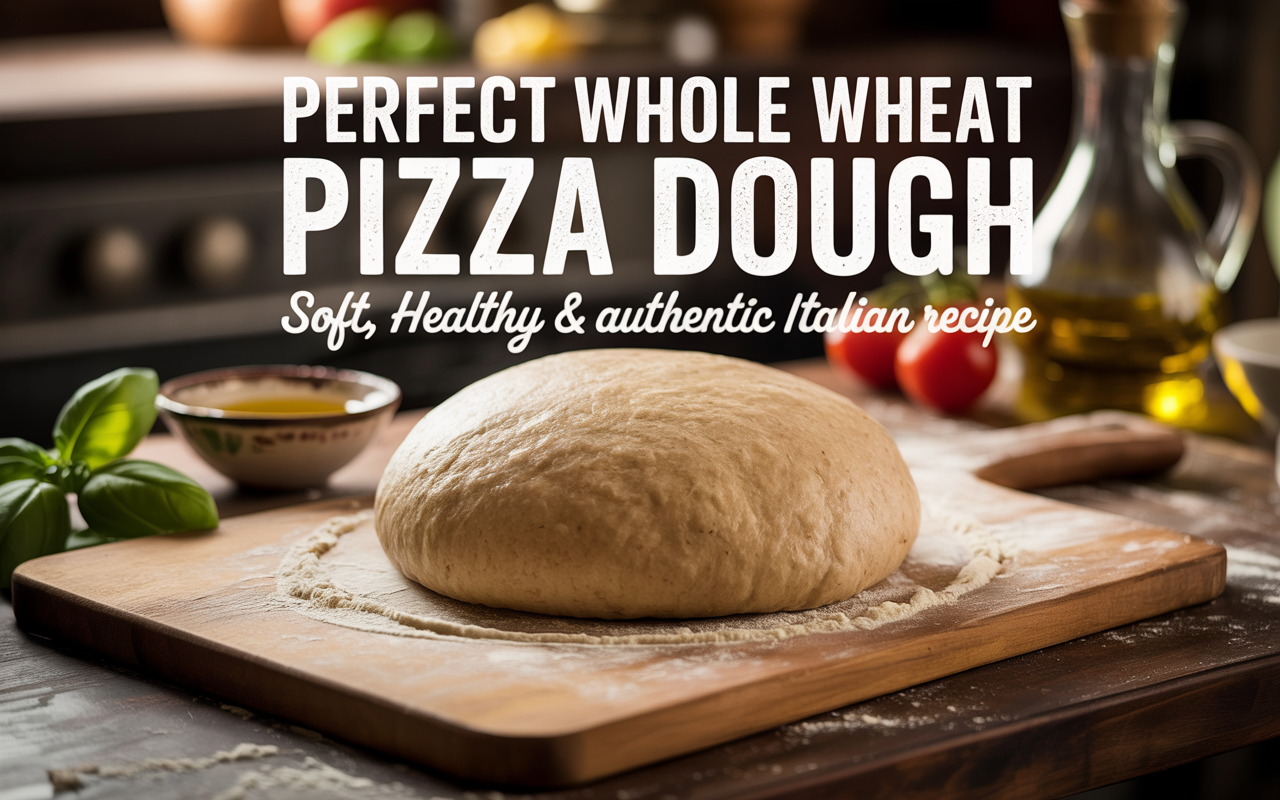
Yes, but the texture will be denser. I recommend substituting only half of the flour with whole wheat for the best balance.
2. Do I need a pizza stone for this recipe?
No! That’s the beauty of pan pizza. Your skillet or baking pan does the work — trapping heat and crisping the edges perfectly.
3. How long can I store the dough?
You can refrigerate it for up to 3 days. Just bring it to room temperature before using.
It also freezes well for up to 2 months — thaw overnight in the fridge.
4. Can I make this without yeast?
Yes, but the texture will change. For a yeast-free version, try using baking powder and Greek yogurt (see my no-yeast pizza dough recipe!).
5. What’s the best sauce for pan pizza?
A simple tomato sauce made with crushed San Marzano tomatoes, garlic, and olive oil — simmered for 10 minutes. Keep it light so your crust can shine.
6. How do I avoid soggy crust?
Preheat your oven fully and don’t overload with sauce.
A hot oven is your best friend for crispy results.
🇮🇹 A Word from My Italian Kitchen
Pan pizza is where rustic Italian tradition meets cozy home comfort.
It’s forgiving, flavorful, and endlessly customizable — the kind of recipe you’ll keep coming back to.
Every time I make this dough, I think of my Nonna’s kitchen in Naples — the laughter, the scent of rising dough, and the golden pizza we’d tear apart straight from the pan.
Now, it’s your turn to carry that warmth into your kitchen.
So dust your hands with flour, drizzle some olive oil, and let’s make pizza magic together. ❤️
🏁 Final Thoughts
Making your own pan pizza dough recipe isn’t just about food — it’s about slowing down, savoring, and creating something with love.
This dough is:
- Simple yet authentic
- Crispy, soft, and full of Italian soul
- Perfect for any pan or skillet you already have
Once you try it, you’ll never go back to takeout.
Now grab that pan, turn up your favorite Italian music, and bake yourself the kind of pizza that makes Nonna proud.
Buon appetito! 🍕🇮🇹
See Also: Pan Pizza Dough Recipe – Soft, Crispy & Foolproof Italian-Style Dough


