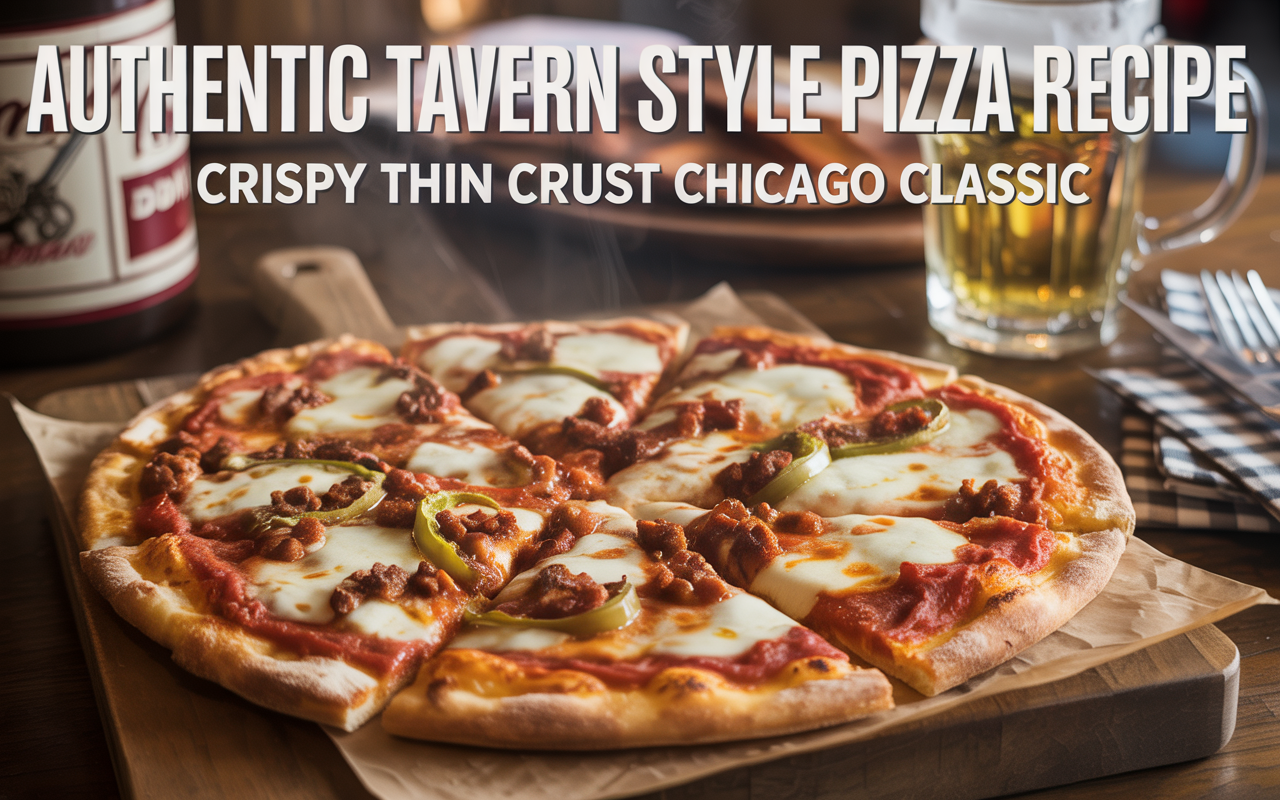
Pizza Dough Recipe from Bisquick: A Shortcut to Homemade Perfection 🍕
There’s something magical about pizza night at home. The smell of dough baking, the bubbling cheese, the sizzle of toppings—it’s the kind of comfort food ritual that brings everyone running to the kitchen.
But let’s be honest: sometimes, making pizza dough from scratch feels like a project. You’ve got to knead, wait, proof, and babysit that dough like it’s your firstborn. Delicious, yes—but not always realistic for a busy weeknight.
That’s exactly where my pizza dough recipe from Bisquick comes in. It’s quick, it’s reliable, and it delivers that same satisfying chew and golden crust—without hours of work. I’ve spent years experimenting with homemade pizza doughs, from traditional Italian recipes to New York-style crusts. But when I discovered how Bisquick could transform into a pizza base, I knew I had found the perfect shortcut for nights when patience runs thin but cravings run high.
This isn’t about cutting corners—it’s about making pizza night easy, fun, and still utterly delicious.

Why Bisquick Works for Pizza Dough
Bisquick, that humble yellow box in the pantry, is more than just pancake mix. It’s a blend of flour, baking powder, shortening, and salt, which makes it behave a lot like a pre-mixed dough base. Instead of starting from scratch with yeast and flour, Bisquick gives you a head start. Add liquid, stir, and in minutes you’ve got dough ready to roll.
Now, is it exactly like an old-world Neapolitan dough made with Tipo 00 flour, kneaded by hand, and baked in a wood-fired oven? Of course not. But here’s the beauty: it’s light, fluffy, and adaptable, and with a few tricks, you can coax out a crust that’s chewy on the inside and crisp on the outside—just the way we pizza lovers like it.

Ingredients and Measurements
Here’s my go-to Bisquick pizza dough recipe that I’ve perfected over the years. Simple, straightforward, and pantry-friendly.
| Ingredient | Measurement |
|---|---|
| Bisquick mix | 2 cups |
| Warm water or milk | ½ cup to ⅔ cup |
| Olive oil (optional) | 1 tbsp |
| Garlic powder (optional) | ½ tsp |
| Italian seasoning (optional) | 1 tsp |
| Extra Bisquick (for dusting) | As needed |
💡 Note: The olive oil adds richness and helps the crust crisp up, while garlic powder and Italian herbs give that subtle pizzeria-style flavor right in the dough.

Step-by-Step Instructions
Step 1: Mix the Dough
In a large mixing bowl, combine 2 cups of Bisquick mix with about ½ cup of warm water or milk. Stir with a wooden spoon until it starts to come together. If it feels dry, add more liquid a tablespoon at a time.
👉 Tip: Warm liquid (not hot!) helps create a softer dough and makes mixing easier.
Step 2: Knead Lightly
Transfer the dough to a floured surface (dust with Bisquick instead of flour for consistency). Knead gently for about 2–3 minutes, just until smooth. Don’t overwork it—you want tender, not tough.
Step 3: Shape the Crust
Roll the dough out into your desired pizza shape. Thick crust? Keep it around ½ inch. Thin crust? Roll it thinner, closer to ¼ inch.
Place it on a lightly greased pizza pan or baking sheet. If you have a pizza stone, preheat it in the oven and transfer the rolled dough onto parchment paper for that authentic crispiness.
Step 4: Pre-Bake (Optional but Recommended)
For a sturdier crust, pre-bake the dough at 425°F (220°C) for 7–8 minutes before adding toppings. This ensures it doesn’t get soggy under layers of sauce and cheese.
Step 5: Add Toppings
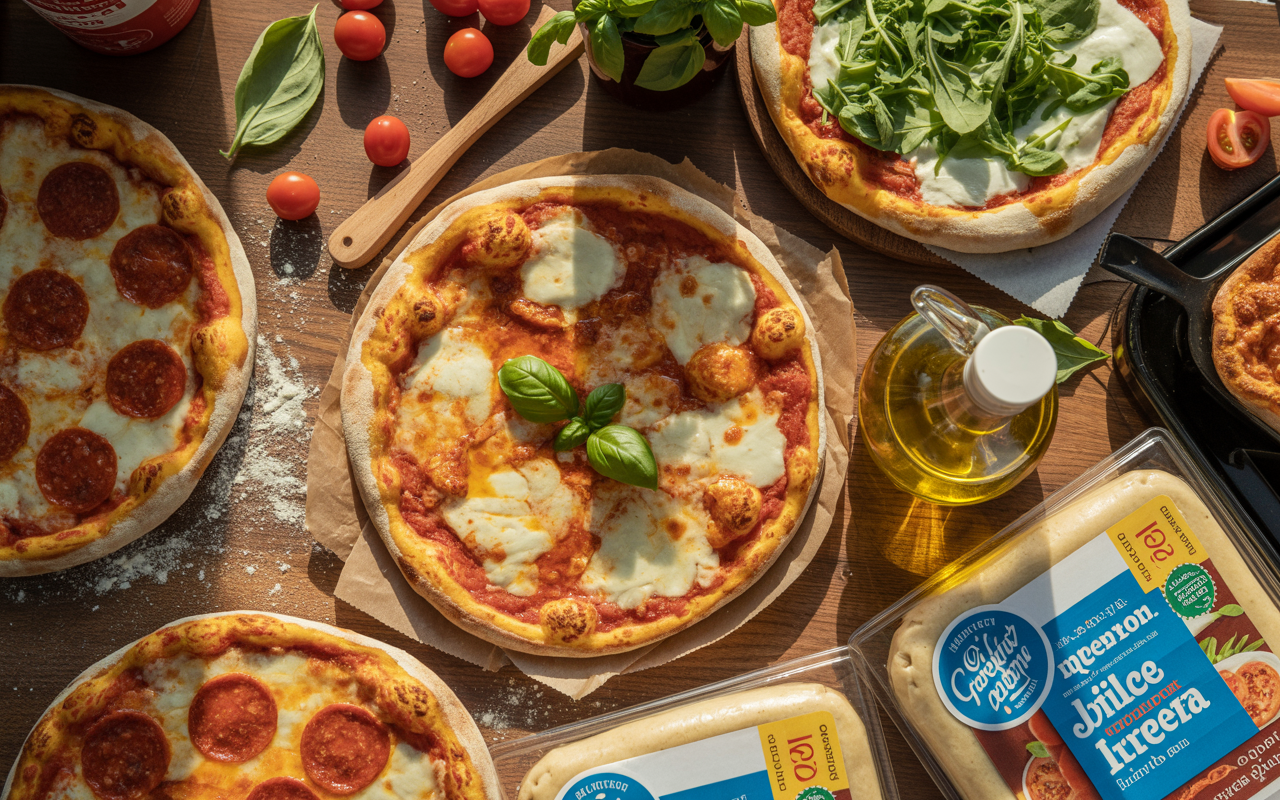
Spread on your favorite pizza sauce, scatter mozzarella generously, and pile on toppings—pepperoni, mushrooms, bell peppers, olives, or whatever your heart desires.
Step 6: Bake to Perfection
Bake at 425°F (220°C) for 12–15 minutes, or until the cheese is melted, golden, and bubbly, and the crust edges are beautifully browned.
Slice, serve, and watch it disappear.
Tips & Tricks for the Best Bisquick Pizza Dough
- Use milk instead of water – It makes the dough richer and gives the crust a lovely golden color.
- Add olive oil – A tablespoon in the dough and a drizzle on the edges before baking gives pizzeria-style crispness.
- Season your dough – Garlic powder, oregano, or Italian seasoning mixed in with the Bisquick takes the flavor up a notch.
- Don’t skip pre-baking – Especially if you love heavy toppings. This simple step keeps your crust firm.
- Go mini! – Divide the dough into small rounds for personal pizzas or even pizza bites—perfect for kids or parties.
- Pizza stone magic – If you own one, use it. The heat mimics a professional oven and gives your crust that irresistible crisp.
Why I Love This Recipe
I’ll be real with you: I adore making pizza dough the traditional way, watching the yeast bubble and the dough rise. But sometimes, life gets in the way. That’s when this pizza dough recipe from Bisquick comes to the rescue.
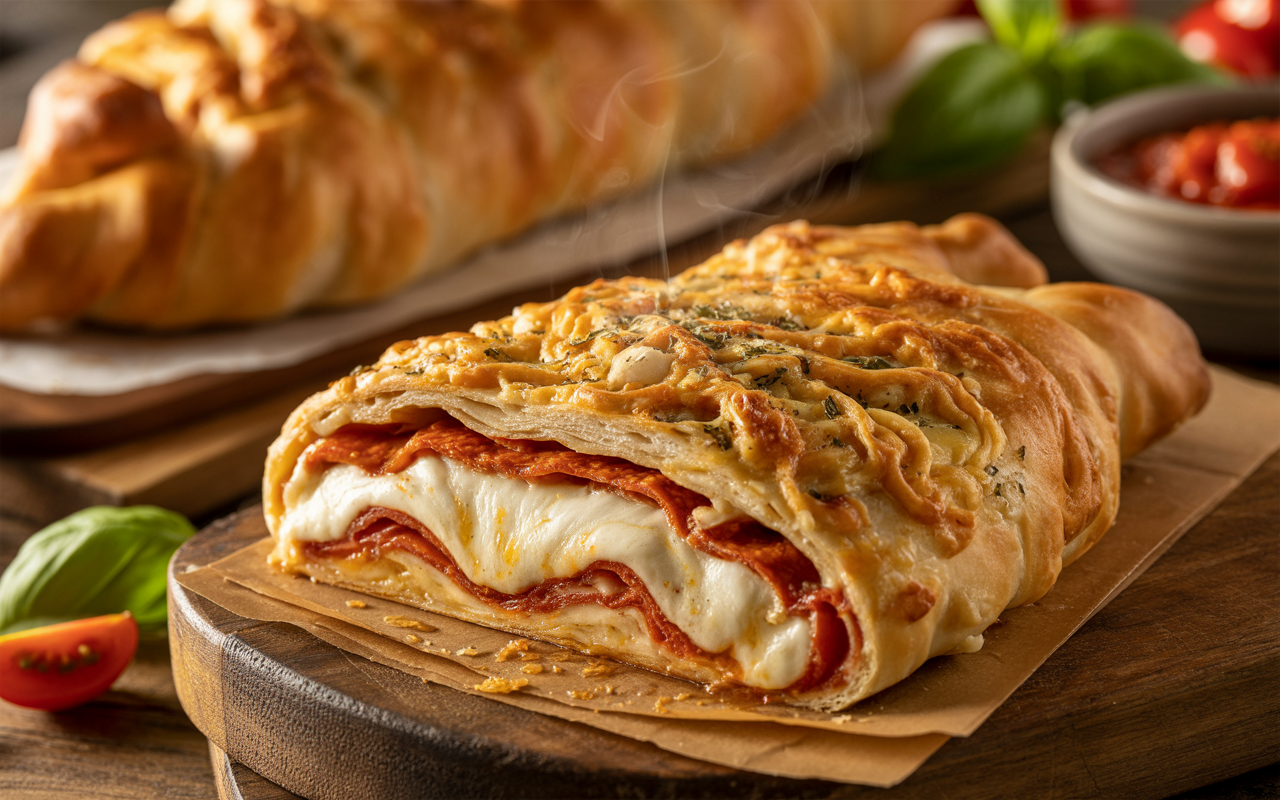
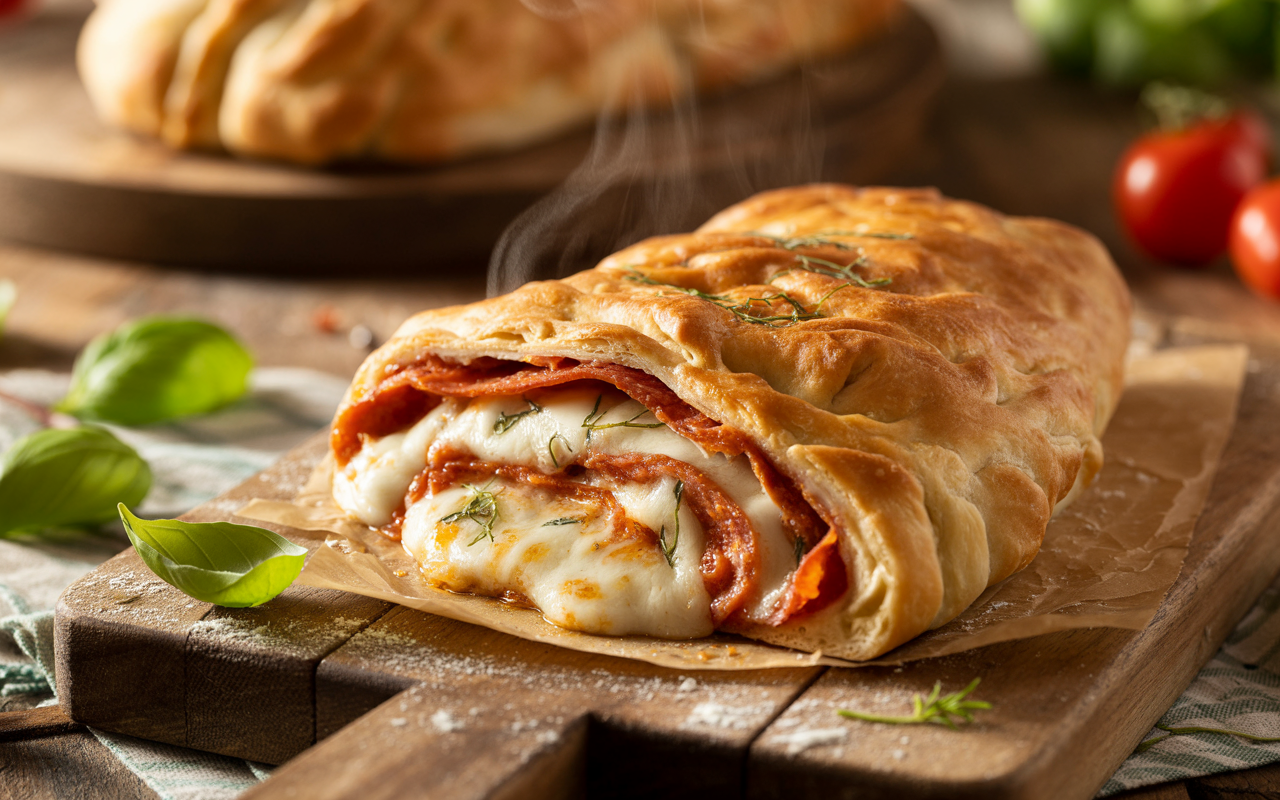
It’s not only fast but also customizable. You can make it thick and fluffy, or thin and crispy. You can flavor it with herbs or keep it neutral. You can even use it for calzones, cheesy breadsticks, or stromboli. One mix, endless possibilities.
Variations You’ll Love
- Cheesy Crust Bisquick Pizza: Fold mozzarella sticks into the edges of your rolled dough for homemade stuffed crust.
- Whole Wheat Twist: Mix half Bisquick and half whole wheat flour for a nuttier, heartier base.
- Garlic Butter Crust: Brush the edges with melted garlic butter right before baking.
- Breakfast Pizza: Use Bisquick dough as a base, top with scrambled eggs, bacon, and cheddar.
FAQ Section
Q1: Can I make Bisquick pizza dough ahead of time?
Yes, but it’s best fresh. You can mix the dough, wrap it tightly in plastic, and refrigerate for up to 24 hours. Just let it sit at room temperature for 20 minutes before rolling out.
Q2: Can I freeze Bisquick pizza dough?
Absolutely. Shape it into a ball, wrap it in plastic wrap, and store in a freezer bag. Thaw in the fridge overnight before using.
Q3: Does Bisquick pizza dough taste like traditional pizza dough?
Not exactly—it’s a bit softer and more biscuit-like. But with olive oil, seasonings, and proper baking, it gets close enough to satisfy any pizza craving.
Q4: Can I use gluten-free Bisquick?
Yes! Gluten-free Bisquick works well, though the texture is slightly different. I recommend adding an extra spoon of olive oil for better elasticity.
Q5: Do I need yeast for Bisquick pizza dough?
No yeast needed. The baking powder in Bisquick gives the dough its lift. That’s what makes this recipe so fast and easy.
Final Thoughts: Make Pizza Night Effortless
At the end of the day, pizza is about joy—not stress. Whether you’re a purist who loves the slow rise of yeast dough or a busy cook who just wants dinner on the table fast, there’s room for both in the kitchen.
This pizza dough recipe from Bisquick is proof that shortcuts can still deliver amazing results. It’s the recipe I turn to on busy weeknights, when friends drop by unexpectedly, or when the kids beg for pizza and I’m out of time. And every single time, the crust comes out golden, soft, and perfectly chewy under all that gooey cheese.
See Also: Authentic Pizza Dough Recipe for Pizza Oven | Crispy, Chewy & Perfect Every Time

Vinit Hirave is a passionate content writer for Pizzetteria Brunetti. A true pizza enthusiast, Vinit’s love for authentic flavors goes beyond the keyboard—he has hands-on experience working in a pizza shop, giving him a deep understanding of what makes a perfect slice. Through his writing, he shares stories, tips, and insights that reflect both his industry knowledge and his genuine affection for the art of pizza-making.


Leave a Reply