
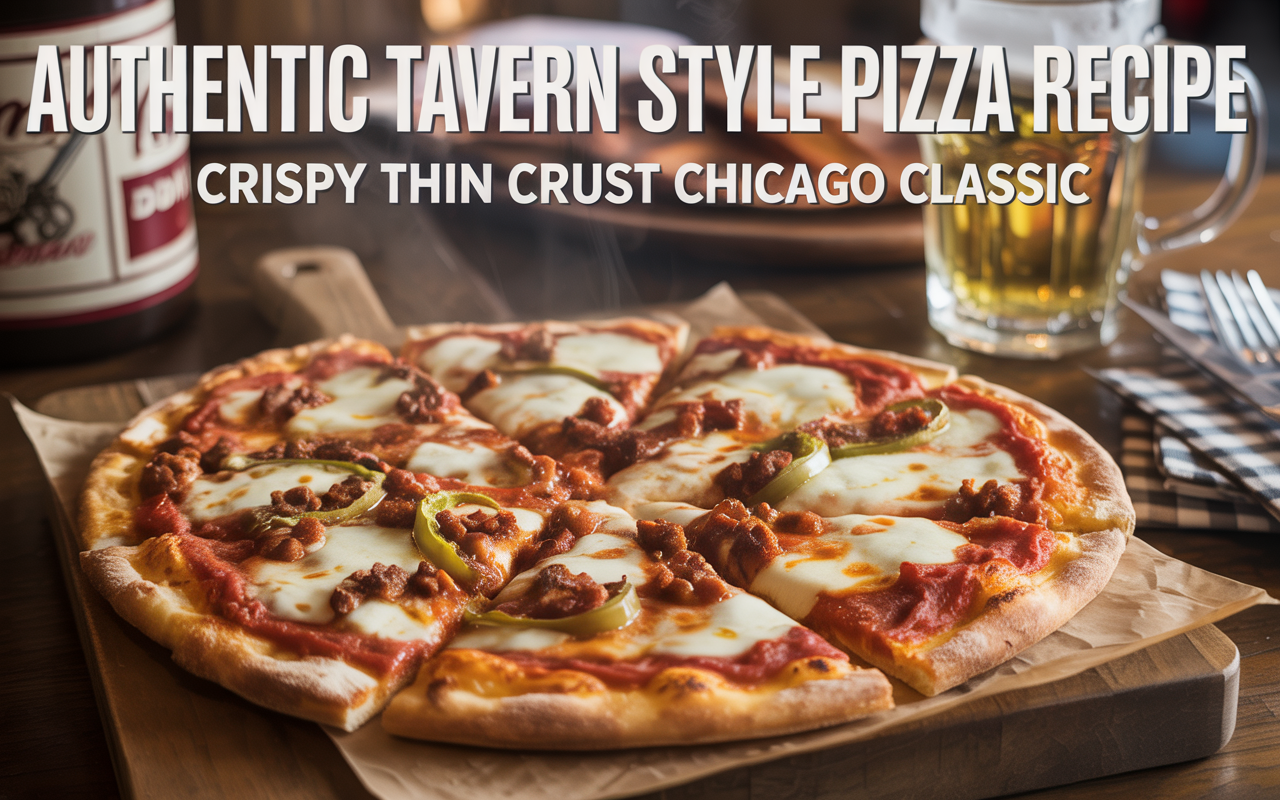
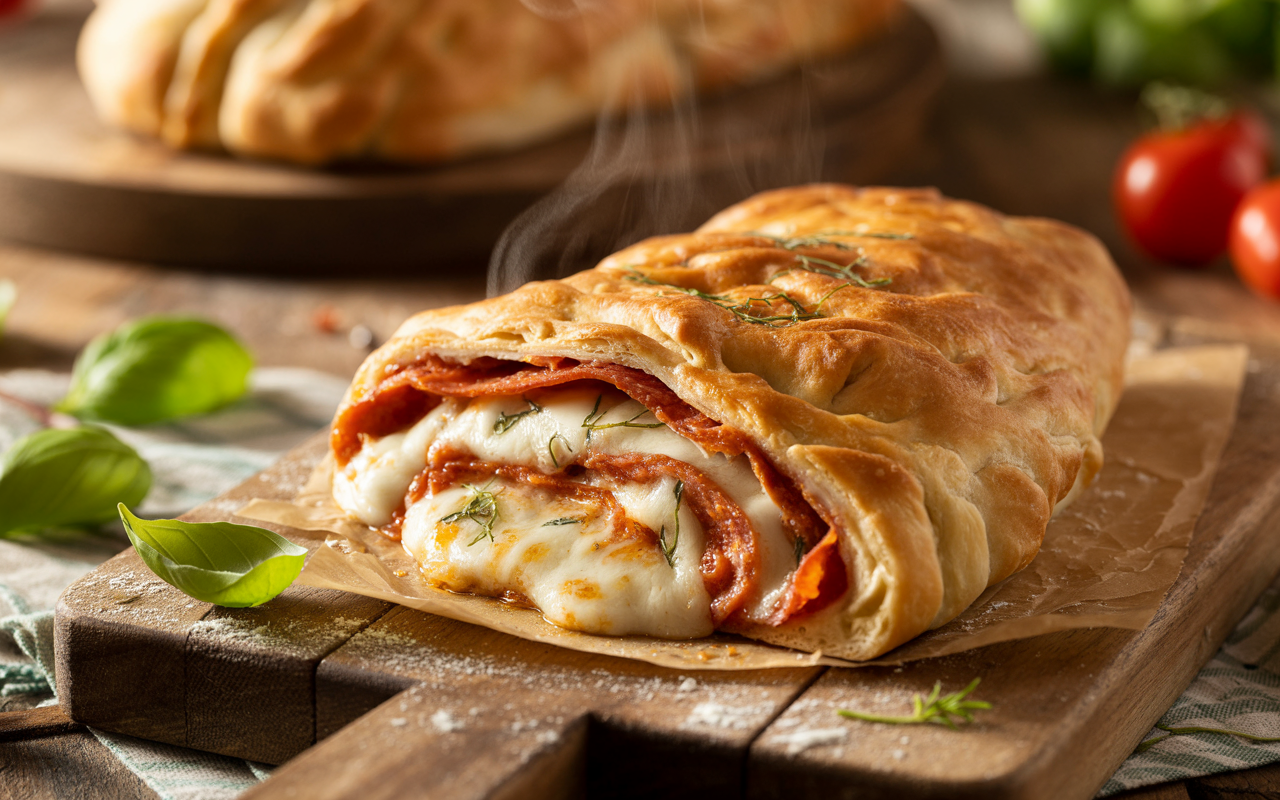
If there’s one thing that characterizes genuine Italian pizza, it’s the outside. Not the thick, overwhelming kind that fills you up some time recently you reach your third chomp — I’m talking approximately that paper-thin, firm however chewy flawlessness that smashs somewhat as you chomp in.
That’s the excellence of a lean outside pizza mixture — light, vaporous, and flavorful. The kind that lets the sauce and fixings sparkle, whereas the base remains solid sufficient to hold everything together without going soggy.
When I to begin with begun preparing pizzas at domestic, my outsides were either as well delicate, as well thick, or out and out biscuit-like. But after a long time of testing — altering flour proportions, hydration, and maturation times — I at long last idealized the batter that tastes fair like the ones I eaten up in Naples.
Today, I’m sharing my secure formula for lean hull pizza batter — no favor hardware, no complicated steps. Fair immaculate, genuine, custom made Italian magic.
🍞 Why You’ll Cherish This Lean Hull Pizza Dough
Crispy on the exterior, delicate interior — the culminate adjust of texture.
Minimal fixings, greatest flavor.
Flexible: Extraordinary for Margherita, veggie, or meat-loaded pizzas.
Quick or slow-rise choices depending on your schedule.
Freezer-friendly — make it once, appreciate it numerous times.
🧂 Fixings & Measurements
Here’s everything you require to make true, restaurant-style lean outside pizza batter at home.
Ingredient Measurement Notes / Tips
00 Italian flour (or all-purpose) 2 ½ glasses (315 g) 00 gives best texture
Lukewarm water ¾ container (180 ml) Around 105°F / 40°C
Active dry yeast 2 ¼ tsp (1 packet) For rise and flavor
Sugar 1 tsp Feeds the yeast
Fine ocean salt 1 tsp Balances flavor
Olive oil (additional virgin) 1 tbsp Adds abundance & flexibility
Cornmeal or semolina For dusting Optional, for crispier base
💡 Tip: If you can discover Tipo 00 flour, utilize it. It’s finely processed and gives your mixture that true Neapolitan chew and stretch.
🍕 Step-by-Step: How to Make the Idealize Lean Outside Pizza Dough
Ready to bring the pizzeria into your kitchen? Let’s do this step by step — Italian style!
Step 1: Enact the Yeast
In a expansive blending bowl, combine tepid water, sugar, and yeast.
Stir tenderly and let it sit for 5–10 minutes, until it gets to be frothy.
✨ If your yeast doesn’t froth, the water might’ve been as well hot or the yeast lapsed. Continuously check freshness!
Step 2: Blend the Dough
Add flour and salt to the yeast mixture.
Pour in olive oil.
Mix with a wooden spoon until the mixture begins to come together.
It ought to be marginally sticky — don’t exaggerate the flour fair however! The enchantment of lean outside mixture lies in its hydration.
Step 3: Manipulate Until Smooth and Elastic
Transfer the mixture onto a gently floured surface and work for 8–10 minutes.
You’re looking for a delicate, smooth ball that bounces back when squeezed delicately with a finger.
If it feels as well sticky, tidy gently with flour — but not as well much. We need flexibility, not stiffness.
👐 Working is treatment. It creates gluten, giving your outside its signature chew and structure.
Step 4: Let the Mixture Rise
Place your batter in a softly oiled bowl. Cover it with a moist towel or plastic wrap and let it rest:
Quick rise: 1–1.5 hours in a warm spot (around 80°F / 27°C).
Slow rise (for flavor): 24–48 hours in the refrigerator.
🌿 Master Tip: The longer your mixture ages, the superior the flavor. A moderate, cold rise gives you that bona fide Italian taste with unpretentious acrid notes.
Step 5: Isolate and Shape
Once risen, punch down the batter tenderly to discharge gas bubbles.
For two 12-inch pizzas, partition the batter in half. Roll each piece into a smooth ball and let rest for 10 minutes some time recently shaping.
This rest permits the gluten to unwind — making it less demanding to roll lean without tearing.
Step 6: Roll Out the Lean Crust
Dust your counter and rolling stick with flour or semolina. Roll the batter into a 12-inch circle, almost ⅛ inch thick.
If it keeps contracting back, let it rest for another 5 minutes and attempt again.
You can too extend it by hand like an Italian pizzaiolo if you’re feeling fancy!
🍕 The more slender the hull, the crispier the chomp. But don’t go paper-thin — you still need a small chew.
Step 7: Preheat the Stove and Stone
Preheat your stove to the most elevated temperature conceivable (475–500°F / 245–260°C).
If you have a pizza stone or steel, put it in the stove whereas it warms up. This step is key — it mirrors a wood-fired broiler by giving that moment warm to fresh the bottom.
Step 8: Collect Your Pizza
Once your stove and stone are bursting hot, exchange the rolled mixture onto material paper or a delicately floured pizza peel.
Add your fixings — but keep in mind: less is more. As well much sauce or cheese can make your lean hull soggy.
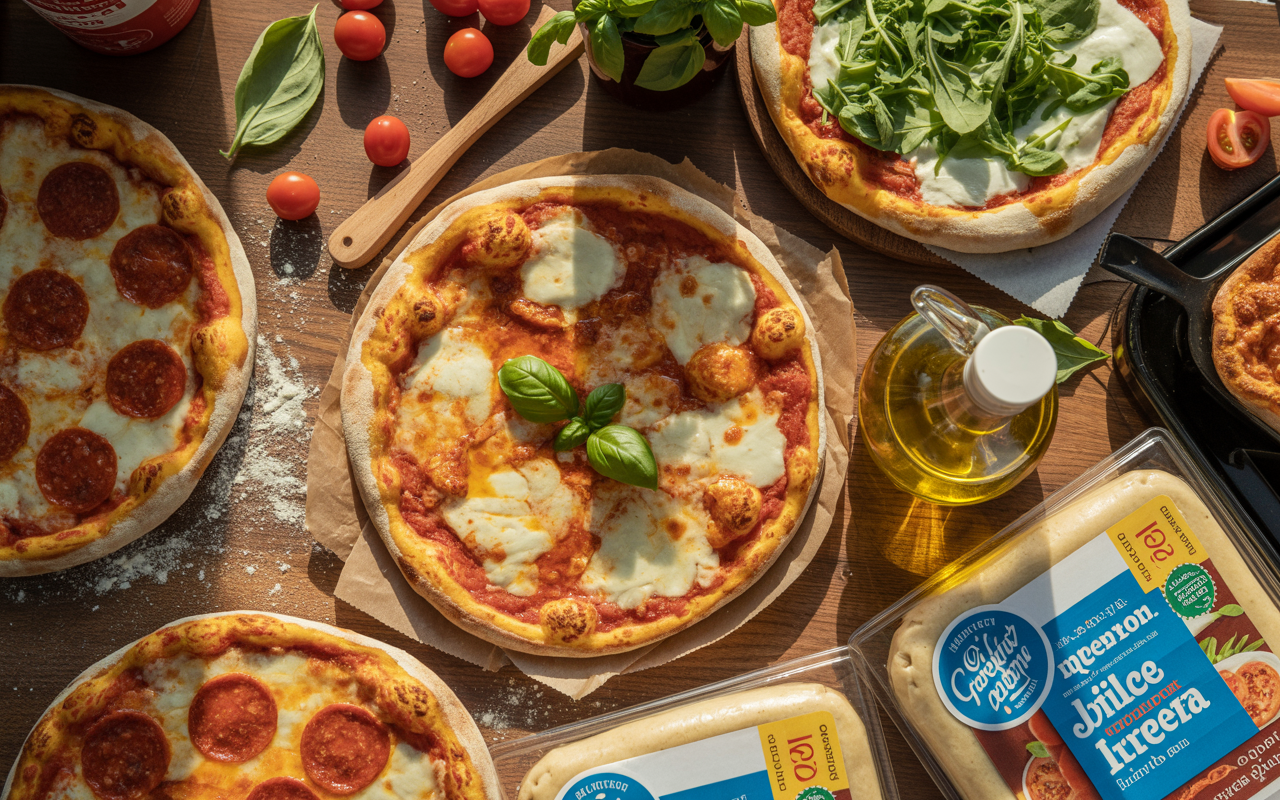
Start with:
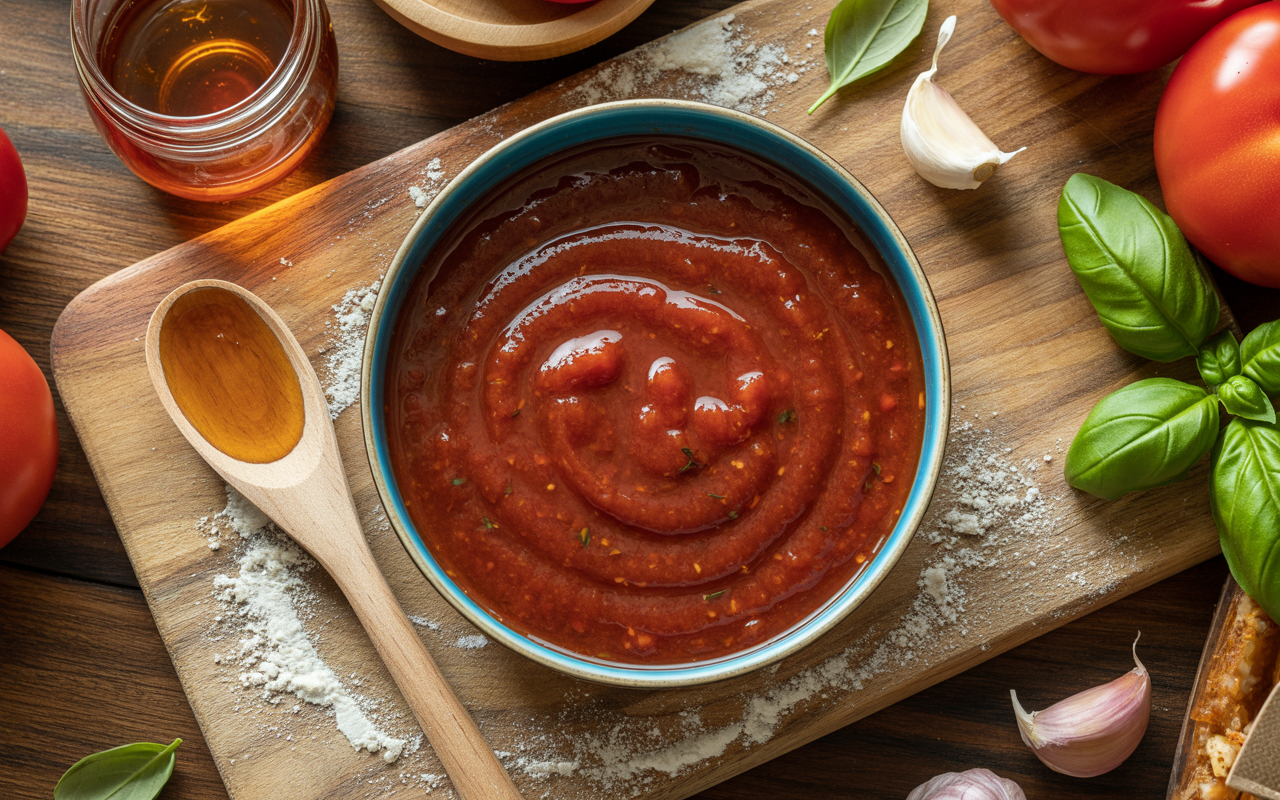
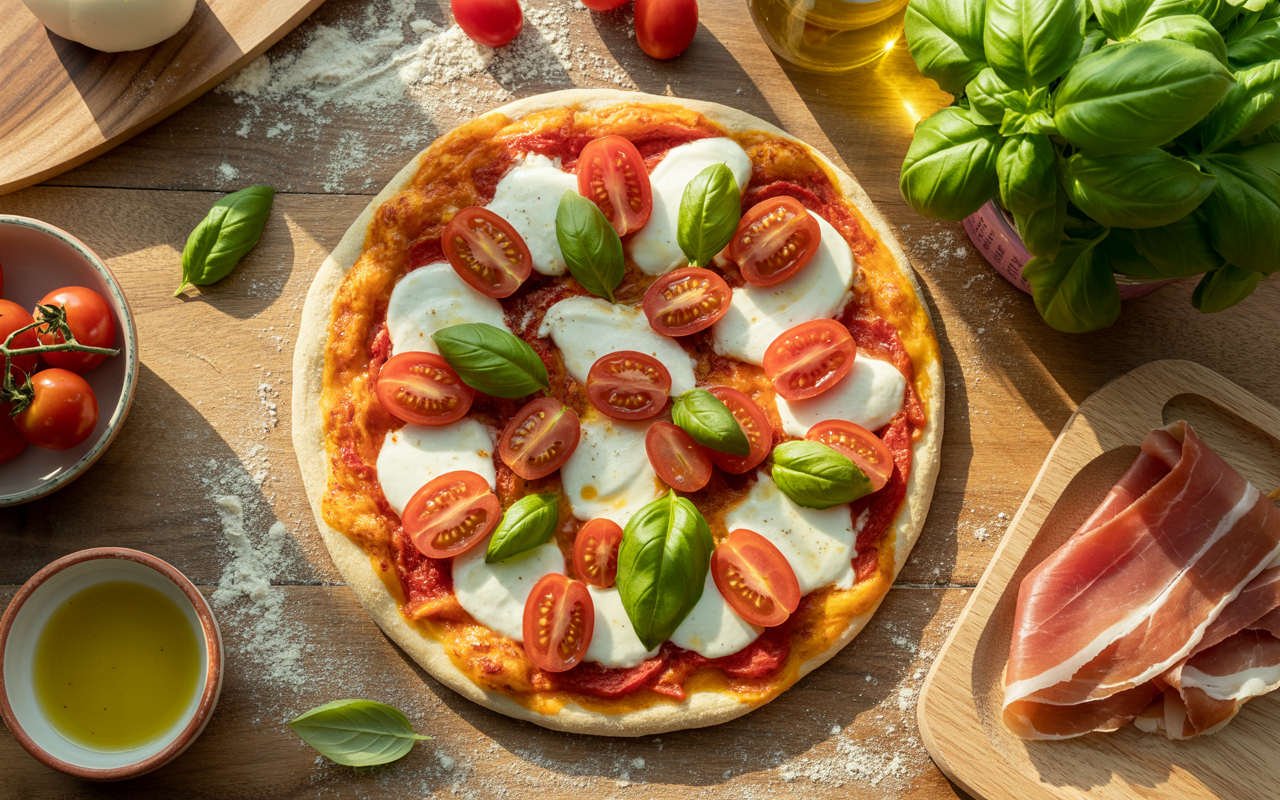
A lean layer of tomato sauce
Fresh mozzarella slices
A sprinkle of olive oil
Fresh basil leaves
Classic Margherita perfection.
Step 9: Prepare to Brilliant Perfection
Slide your pizza into the broiler and heat for 7–9 minutes, or until:
The hull is fresh and delicately browned.
Cheese is bubbly and somewhat golden.
Your kitchen smells like an Italian bakery.
🔥 If you cherish charred edges, utilize the broiler for the final 30 seconds!
Step 10: Cut and Savor
Remove from the stove, let it rest for a diminutive, at that point cut with a sharp pizza cutter.
The outside ought to be lean, fresh, and breezy — firm sufficient to hold but light sufficient to fold.
Serve promptly with a sprinkle of additional virgin olive oil or chili drops if you like a small heat.
🧀 Varieties You’ll Love
Garlic Herb Hull: Include 1 tsp dried oregano and ½ tsp garlic powder to the dough.
Whole Wheat Adaptation: Swap 1 container flour for entire wheat flour for a provincial flavor.
No Yeast Form: Utilize 1 tsp preparing powder and skip rising — perfect for moment pizza cravings.
Gluten-Free Choice: Supplant with gluten-free pizza flour mix (include 1 tsp xanthan gum if needed).
💡 Tips & Traps for Culminate Lean Outside Pizza Dough
Use tall warm. Lean outside cherishes quick preparing — it keeps it fresh without drying.
Rest the mixture. Don’t skip resting after rolling — it anticipates shrinking.
Don’t over-burden garnishes. Less is genuinely more; it keeps the hull from getting soggy.
Hydration is key. Sticky mixture implies more discuss bubbles and lighter texture.
Olive oil enchantment. Brushing edges some time recently preparing includes color and crunch.
Use material for simple exchange. No staying or tearing.
Cold maturation = superior flavor. Believe me, a 24-hour rest in the ice chest makes all the difference.
❓ Regularly Inquired Questions (FAQ)
- Can I make this batter ahead of time?
Yes! You can make the batter up to 48 hours in development and store it in the fridge. Fair bring it to room temperature some time recently rolling.
- Can I solidify lean outside pizza dough?
Absolutely. After the to begin with rise, separate and wrap the mixture firmly in plastic wrap, at that point solidify for up to 3 months. Defrost overnight in the cooler some time recently using.
- What’s the best flour for lean hull pizza?
Authentic Italian Tipo 00 flour is best — it’s delicate, fine, and makes that sensitive chew. But all-purpose flour works awesome too!
- Can I utilize moment yeast instep of dynamic dry yeast?
Yes! Skip the actuation step and blend it specifically with your dry fixings. The rise time will be somewhat shorter.
- How do I keep my pizza hull crispy?
Use a hot stove, preheated pizza stone, and negligible sauce. Too, don’t let your amassed pizza sit as well long some time recently preparing — dampness from sauce and cheese can mollify it.
- Can I cook lean outside pizza in a pan?
Yes! If you don’t have a pizza stone, a overwhelming cast-iron container or heating sheet preheated in the broiler works wonderfully.
- How long ought to I heat it?
Bake at 475–500°F for 7–9 minutes, depending on your broiler and wanted crispiness.
🌿 My Individual Touch: What Makes This Batter Special
I’ve prepared hundreds of pizzas — a few in wood-fired broilers, others in my modest domestic stove. And if there’s one thing I’ve learned, it’s this: incredible pizza is all around tolerance and simplicity.
This batter doesn’t depend on complicated steps or favor machines. It’s fair great fixings, time, and a bit of love.
When I prepare this pizza for companions, they continuously say, “It tastes like genuine Italy!” That’s the greatest compliment a domestic chef can get.
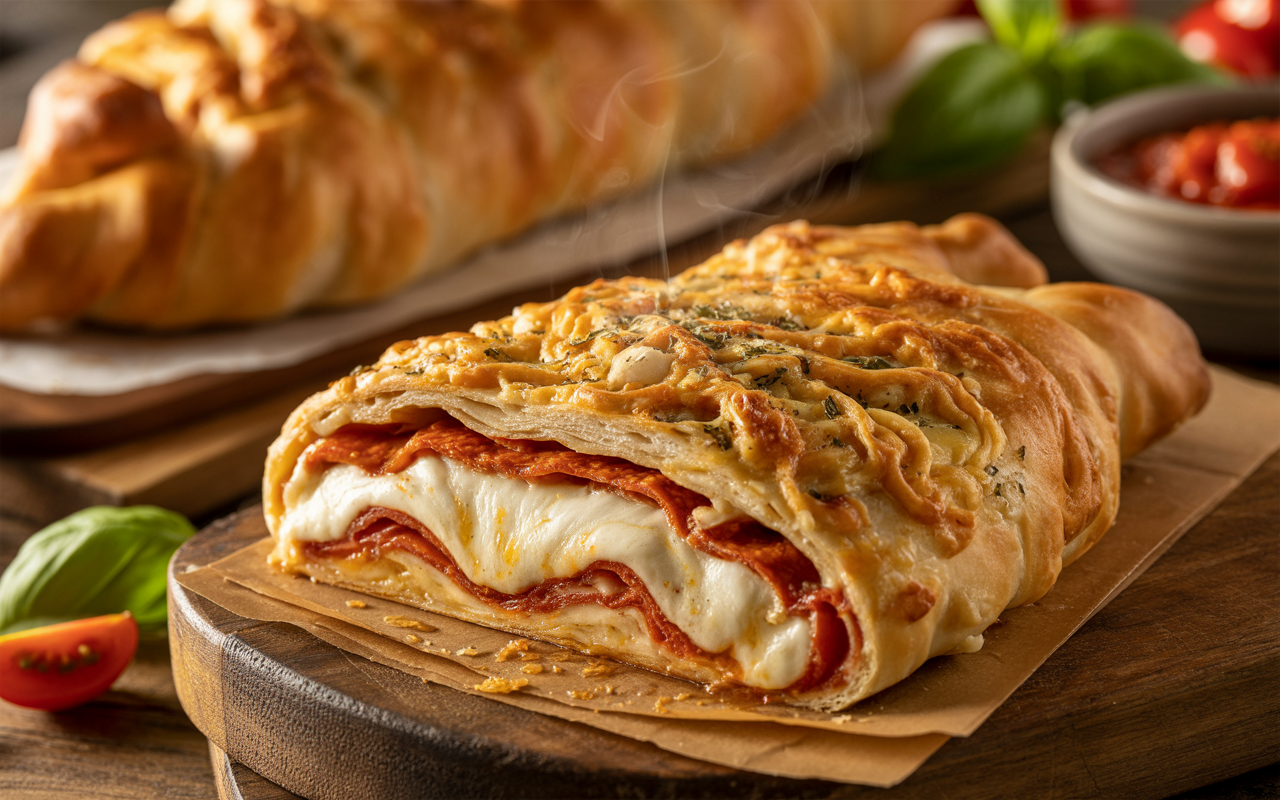
And the best portion? Once you ace this base, you can beat it in any case you like — classic Margherita, prosciutto and arugula, mushroom truffle, or indeed hot pepperoni.
This is your canvas.
🍷 Match It With…
A glass of Chianti or Sangiovese
Caprese serving of mixed greens for a reviving side
Or a scoop of gelato for dessert perfection!
🍽️ Last Considerations: Make Pizza Night Magical
Homemade pizza isn’t fair around nourishment — it’s an encounter. It’s flour on your hands, chuckling in the kitchen, and that to begin with firm nibble when everybody goes quiet since it’s that good.
This formula for lean outside pizza mixture is the one I swear by — straightforward, true, and bursting with flavor.
So another time you need that restaurant-style pizza, skip conveyance. Roll up your sleeves, manipulate with adore, and let your stove do the rest.
Your kitchen will scent like Italy, and your heart will feel full. ❤️
See Also: Recipe for Taco Pizza – The Perfect Fusion of Italian Comfort and Mexican Flavor!

Vinit Hirave is a passionate content writer for Pizzetteria Brunetti. A true pizza enthusiast, Vinit’s love for authentic flavors goes beyond the keyboard—he has hands-on experience working in a pizza shop, giving him a deep understanding of what makes a perfect slice. Through his writing, he shares stories, tips, and insights that reflect both his industry knowledge and his genuine affection for the art of pizza-making.


Leave a Reply